 |
 |
CorelDraw 101: Objects
Using Guidelines
|
| |
|
|
|

|
|
Create a New Guideline
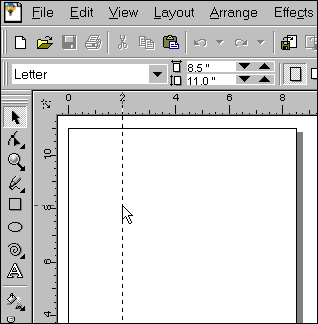
Click on the vertical ruler and drag a vertical guideline onto your
page. Position the guideline where you require and release the mouse
button. Click on the horizontal ruler and drag to place a horizontal
guideline in the same way. To move the guideline, click and drag to
the new position. A selected guideline shows in red and can be moved.
|
| |
|
|
|

|
|
Set Snap to Guidelines
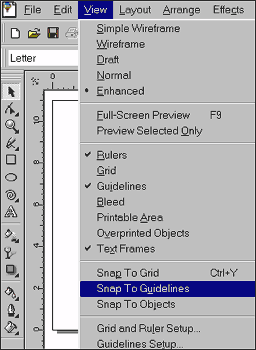
Choose View, Snap to Guidelines in the Main Menu. This will assign a
magnetic quality to your guideline. When an object is moved close to
the guideline it will snap into place without exact positioning. To
remove the snap to guidelines property, choose View, Snap to Guidelines
again.
|
| |
|
|
|

|
|
Position Object Using Guides
Create a vertical guideline. Make sure that the snap to guidelines is
turned on. Click and drag an object near the guideline and it will snap
to it. Try this with several objects. This feature is a great time saver
for aligning objects. You will find that you toggle the snap to guidelines
on and off quite frequently, as positioning objects near the guidelines
is nearly impossible with the snap feature turned on.
|
| |
|
|
|

|
|
Snapping Guidelines to Grid
You can speed up exact guide placement if you have a grid established
for your document. (See Start Your Page
Right for tutorials on both grid
and guidelines placement.)
Choose View, Snap to Grid while you set up your guidelines. Your guides
will snap to the grid easily, and once you have the guides positioned,
turn off the snap to grid.
|
| |
|
|
|
|
|
Next page
CorelDraw 101: Objects Tutorial Index
Selecting Objects
Align Objects
Distribute Object Sets
Group and Ungroup Objects
Modify Multiple Objects
Copy Object Properties
Using Guidelines
Undo/Redo/Revert Commands
Changing Object Order
Cut or Copy and Object
         
|


 Find a programming school near you