Masks Are Easy Part 2 pg 9: Production Graphics with Wendy Peck at webreference.com
 |
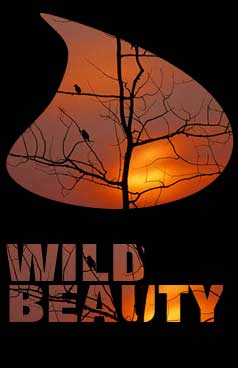
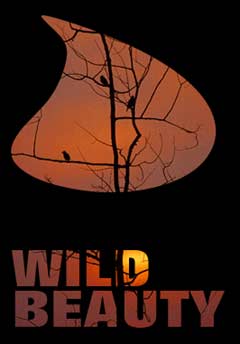
Masks Are Easy Part 2: Masks in Fireworks | ||||
|
|
Macromedia Fireworks presents powerful masking tools, allowing you to easily create some dynamite effects. One of my favorite features is that you can always edit your creations. I tend to change my mind a lot as a design moves forward, and with Fireworks, your options remain open. |
||||
|
|
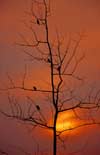
I could have accomplished this in seconds with the powerful mask command, but the results would have been as shown below the final image. I wanted the sunset colors in both sections of the graphic. In order to do that, I created two separate masks and combined them. However, for the purpose of this tutorial, I am going to assume that the simple method (as in the second sample) was used. Create a mask group
You can move the image within the mask to achieve the best look. Simply drag on the center handle of the mask group and the image will move in relation to the mask as shown here. If you are not satisfied at any time with your mask, simply choose Modify>Ungrpoup and your mask group is returned to separate objects. |
||||
|
|
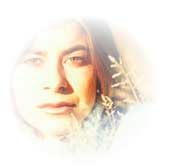
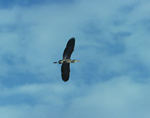
You can carry this mask grouping to combine two images. In the sample shown at the left, the image of the flying heron was placed behind the same photo as I used above. I have included it again here so you can see how the two images transformed when combined with the Mask to Image command. Note how the dark branches in the tree, which is the masking image, allow the color of the bird to show though. In the image at the left, a radial filled oval was used to achieve this look. The oval was placed above the image of the woman and both images were selected. Mask to Image was applied. A white background completes the effect. |
||||
|
|
|
||||
|
Photos © Tom Thomson Photography. Used with permission. |
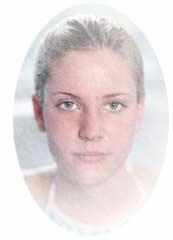
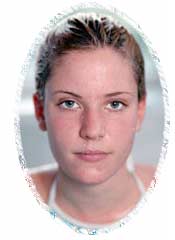
Mask to path
The top image is created from this setup using the mask to path command. The lower shows exactly the same setup, but with the mask to image command. Note the texture and graduation in the lower image, taken from the fill. The top photo takes on only the shape, or the "path" of the top object. Note: If the oval had been filled with solid black, the image would be the same regardless which mask grouping command is used, since black fill allows the lower image to show through. The mask group can have added effects. The sample shown here has a crayon stroke added. If you would like to save the mask, prepare the masking object to where you are ready to create the mask group. Select the masking image and copy. Create a new image of the same dimension, paste and save the file. To use the mask for a new image, choose File>Import and choose the mask you saved in the previous step. Select the import and the image to be masked and create your mask group. This selection of mask techniques simply scratches the surface of what Fireworks has to offer. Set aside some time to experiment with combining two photos, using path masks for shaping, and other creative masking effects. Once you are comfortable with these techniques, you can create effective graphics very quickly well worth the time invested. |
||||
|
|
Pro Edges Tutorial IndexMasks Are Easy Part 2 Start
|
 In
the original image, shown severely reduced in size here, I had a dynamic
photo with great color, and wanted to include the image as part of the
text as well as showing through a frame.
In
the original image, shown severely reduced in size here, I had a dynamic
photo with great color, and wanted to include the image as part of the
text as well as showing through a frame. 


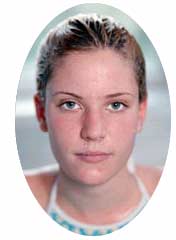
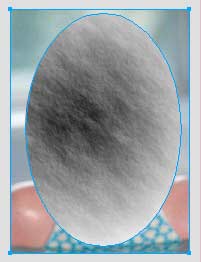 The
images at the left show the results of applying the two mask group commands
to the photo shown here. The image of the girl has an oval with a textured
graduated fill placed in front of it. The object in front creates the
mask. Note how both the image and the oval are selected. There is a
white background behind both images.
The
images at the left show the results of applying the two mask group commands
to the photo shown here. The image of the girl has an oval with a textured
graduated fill placed in front of it. The object in front creates the
mask. Note how both the image and the oval are selected. There is a
white background behind both images.
URL: https://www.webreference.com/graphics/
Created: Apr. 16, 2000
Revised: Apr. 19, 2000
 Find a programming school near you