Masks Are Easy pg 9: Production Graphics with Wendy Peck at webreference.com
 |
Masks Are Easy 9: Mask Power with Fireworks | |
|
Image created by joining an object shape with a photo. |
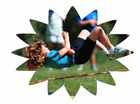
Fireworks, with its hybrid vector/raster type operation is especially well suited to mask work. The simplicity of clipping one image is one of the strengths vector programs can offer, yet Fireworks can also deliver the soft raster effects like shadows and glows as easily as any raster program. You must think a little differently for masks in Fireworks, but it is a difference most people will find easy to follow. Fireworks masks are based on one image clipping another. Quite simply, if you want an photo to be in a star shape, you place a star over the photo and follow the technique below. The photo takes on the outer shape of the star, yet remains editable. The image at the left was created with a photograph and a dingbat font outline. The image was clipped, with a drop shadow and outer glow applied. |
|
|
|
||
|
The shaped object is placed on the photo.
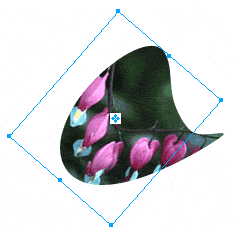
The image can be moved within the bounding shape. |
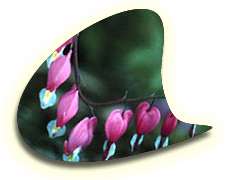
To create this look, import a photograph and create an outline to use as the clipping shape. You can draw an object using the draw tools, import another image, or as I have done here, use a dingbat shape. This is u from the Button Button dingbat font. Both the photo and the dingbat have been rotated. Both are on the same layer. With the Pointer tool, select both objects. Choose Modify>Mask Group>Mask to Path, and the photo will take on the shape of the object above as shown in the image at the left. Note the icon in the middle of the image. You can drag this icon to reposition the photo within the outline. If you are using a font, it remains editable, even though it is forming the outline for a photo. In the samples below, I first joined the photo and a character from the Button Button font. I chose the Text tool and clicked on the group to open the Text Editor, and simply changed the font character for the second effect below. Even with effects such as drop shadow or embossing, the text remains editable.
|
|
|
|
|
|
|
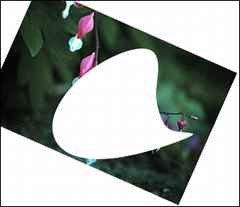
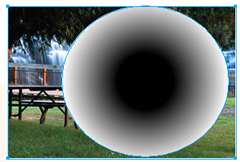
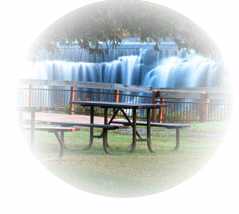
Graduated filled circle forms the path and transparency for the photo beneath it. The result of joining them with the Mask to Image command is shown below.
Objects with this effect are transparent. Note how the tan color is peeking through the image. Photos © Tom Thomson Photography. Used with permission. |
For a more traditional mask operation, Fireworks offers another mask option. In this method, the transparency is taken from the top object as well as the outer shape. In the sample at the right, I created a a circle with a radial fill. I had to edit the fill to increase the black area, since the black is where the photo will show through. Select both the circle and the photo and choose Modify>Mask Group>Mask to Image. The photo shown below is the result. When this effect has been applied, the resulting image is transparent, which presents many new opportunities for interesting designs. In the image below, note how the tan color seeps though the image.
Experiment with the gradient and texture fills to create many unique effects. Masks in Fireworks are very easy and flexible and well worth spending the time to master. And as easy as they are, you will be creating wonderful work with masks very quickly. Be sure to come back for the second part of the mask tutorial. We will be covering saving masks, channels and many other mask tricks. We will also cover masks in Macromedia Flash. Don't miss it! |
|
|
|
|
|
|
|
Pro Edges Tutorial IndexMasks Are Easy Start |
URL: https://www.webreference.com/graphics/
Created: Mar. 31, 2000
Revised: Mar. 31, 2000




 You
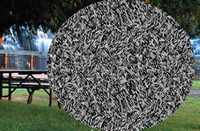
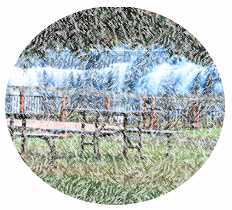
can also use the texture feature of the Fireworks fill effect. In the
samples below I have applied a texture fill to the same photo and circle.
The sample at the right shows the image before applying the Mask to
Image effect. The photo below is the result.
 Find a programming school near you