Let There Be Lines pg 9: Production Graphics with Wendy Peck at webreference.com
 |
Let There Be Lines 9: CorelDraw Grid Tool | |
|
|
|
|
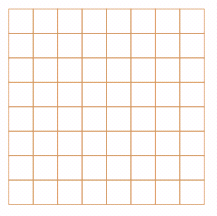 |
You can adjust the size of the finished grid at any time as for any rectangle, and can rotate and skew, or distort proportion as well. |
|
|
|
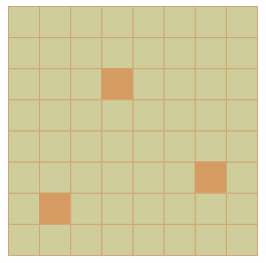
But, as always, there are some tricks that can make the most of a great feature. To change outline color, right click in the Palette. To change cell color, left click in the Palette. Change the color of one cell by selecting with your CTRL key pressed to select the individual cell. This grid is simply a collection of rectangles or squares joined together, so you can apply any of the many effects you can apply to other objects. But even that is not quite enough. Since they are all individual objects grouped together, when you specify a fill for the whole unit, each individual cell takes on its own fill. Fine for a solid color, but what if you want the whole grid interior or outline to have a continuous fill. It can be done with a few steps to change the way the grid is put together. |
|
|
|
|
|
|
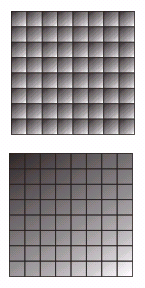
Top sample shows fountain fill applied to the original grid. Each cell is an individual rectangle, although they are grouped together. Second sample shows exactly the same grid, but after the breaking apart exercise described here. This is one object now.
|
First, you must convert the whole grid to curves. Select the grid and choose Arrange>Convert to Curves from the main menu. Check your status bar and you will see that we now have a group of objects. Next step is break the group. Choose Arrange>Ungroup All (this ungroups any subgroups within the larger group and insures you will have individual objects).Check the status bar again and you will see that we have the same number of objects, but they are not groupedjust selected. Finally, we want to join all the objects together as one. Choose Arrange>Combine. Note the status bar now states that a curve is selected. You can see the before and after in the samples at the left. In the first, I applied a fountain fill and each cell took on a fill of its own. The same fill was applied to the second sample, but after I had worked through the steps above. We can take that one step further and release the outline in order
to apply a fountain fill or texture to the grid. After the above is
completed, choose Arrange>Convert Outline to Object. If you love grids, CorelDraw's Grid Tool offers complete flexibility. |
|
|
|
Pro Edges Tutorial IndexLet There Be Lines Start
|

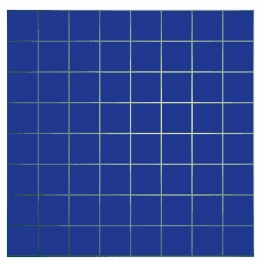 The
outline now becomes the object and applying fill will affect only the
outline. This means you cannot fill the background. Of course, you can
always place a filled rectangle behind the empty grid as I have done
here.
The
outline now becomes the object and applying fill will affect only the
outline. This means you cannot fill the background. Of course, you can
always place a filled rectangle behind the empty grid as I have done
here.
URL: https://www.webreference.com/graphics/
Created: Mar. 16, 2000
Revised: Mar. 16, 2000
 Find a programming school near you