Illustrator Photo Crosshatch - Giordan on Graphics


Mastering the Photo Crosshatch Filter in Illustrator 8
Sometimes you just want an image that's more like a graphic than a photograph.
I mean, graphics use fewer tones and compress into nice little GIF files for
fast downloading, and they make a page look more designed.
Now, you could just apply one of the artistic filters in Photoshop and be
done with it, but do those filters really do justice to a good image? Sometimes
yes, sometimes no. You really take your chances with some images, and you
almost always end up compromising somewhere in the conversion process.
While it must be painfully obvious by now that I'm leading you headlong into
my own conclusion, I think you'll like the trip we're embarking on. I'm going
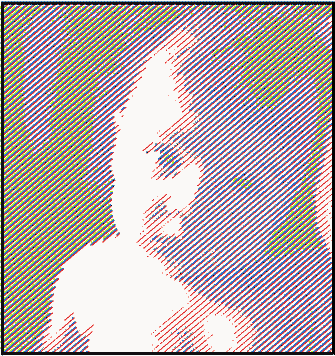
to show you how to use the Photo Crosshatch filter in Illustrator 8 to create
a custom graphic effect that's optimized for the specific image you're working
on. The result will be an effect like the one shown above, although you can
add your own color combinations if you wish.
Table of Contents
- page 2- Optimizing the image for tonal areas
- page 3- Apply the first filter
- page 4- Apply the second and third filter
- page 5- Apply the filter for the highlights
- page 6- Set up hatching layers
- page 7- Color the 1/4 tone layer
- page 8- Color the mid tone layer
- page 9- Color the remaining layers
- page 10- Finish the effect
Produced by Daniel Giordan
All Rights Reserved. Legal Notices.
URL: https://www.webreference.com/graphics/column8/
Created: Feb 2, 1999
Revised: Feb 2, 1999


 Find a programming school near you