Color Power with Gradient Fills pg 6: Production Graphics with Wendy Peck at webreference.com
 |
Color Power with Gradient Fills: Fireworks Gradients | |
|
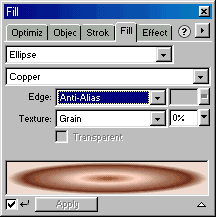
Ellipse style with preset Copper color.
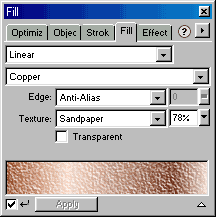
Same preset color as above, but set as a linear gradient.
Same settings, with texture added. |
If you have not used the gradient fill feature in Fireworks, you are in for a treat. The fill works with all objects, text included, which leaves you with full editing options at any time. This is one of the nicest features in Fireworks. Select the object you wish to fill with the pointer tool. Open the Fill window, and specify the gradient you wish to use. Gradient fills are are set up in two stages in Fireworks, which provides a great deal of flexibility. In the Fill window, shown at the left, the first selection is set to Ellipse, which determines the shape of the gradient fill. The selection list immediately below provides preset colors. I have included a second sample to show the same preset color using a linear gradient instead of a radial gradient. The sample below shows text filled with a linear gradient and preset Copper color .
You can also add texture to your object at the same time. Choose a
texture from the Texture list, and use the slider to set your texture
level.
This does not sound like much instruction, but for the preset gradient fills, there is no more to say. The Fireworks vector base means all objects behave in the same way, which makes it very easy to learn how to apply effects.
|
|
|
|
|
|
|
|
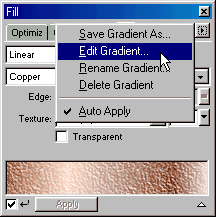
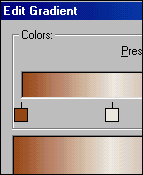
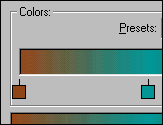
Custom colors To edit a gradient, choose Edit Gradient from the fly-out menu at the top right of the Edit menu. The Edit Gradient window opens and you will see a color bar with color markers representing where colors change. Click on any color marker and the color palette pops up. Choose your color. To add another color, click your mouse where you would like a new marker to appear. The marker is assigned the color in the gradient at that spot. Click on the new marker to choose a different color. To move a color marker, click and drag. To remove a marker, click and drag it off the window. The lowest sample at the left shows a color and position edit from the sample immediately above. The tan color was changed to dark aqua and moved to the right. The resulting gradient as applied to the text sample we have been using is shown below.
Have some fun with this versatile gradient effect. Carry on to the next page for saving your custom creations and applying transparency to objects with a graduated fill.
|
|
|
|
|
|
|
|
Color Power with Gradient Fills Tutorial IndexColor Power with Gradient Fills Start |
URL: https://www.webreference.com/graphics/
Created: May 27, 2000
Revised: May 27, 2000






 Find a programming school near you