CorelDraw 101: All About Outlines pg 4: Production Graphics with Wendy Peck at webreference.com
 |
CorelDraw 101: All About OutlinesSet Outline Style | |
|
|
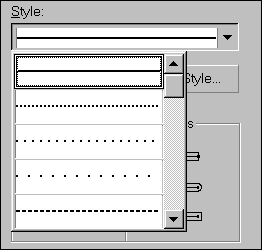
Set Outline Style Select any object with the Pick Tool. Click on the Outline Tool in the Toolbox to open the fly-out. Choose the Outline Pen Dialog (first in the fly-out) to open the Outline Pen window. Select the style from the Style fly-out. |
|
|
|
||
|
|
Edit Style Open Outline Pen window as in previous step. Select a style that is similar to the one you wish to create. Click the Edit Style button. In the Edit Style window, locate the line of squares and click and drag on the dumbbell shaped icon to increase the work area. This is where you design your style. Click on the squares to toggle black and white. You can see the results in the window below the edit bar. When you are satisfied, click Add to create a new style. |
|
|
|
||
|
|
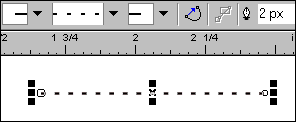
Freehand Tool Style Choose the Freehand Tool from the Toolbox and create a line of any type. With a line selected, the Property Bar offers a Line Style fly-out for quick access. Select the line with the Pick Tool and choose a style from the fly-out. |
|
|
|
||
|
|
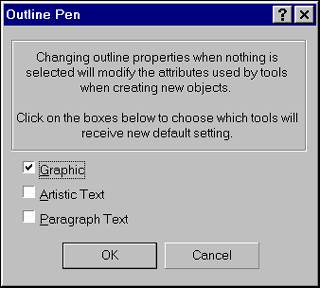
Set Default Style Make sure there are no objects selected in your document. Click on the Outline Tool and a pop-up will appear asking you to choose which items will receive the new default settings. Choose Graphics only for outline style, since this effect is not good for text. Click OK and the Outline Pen window will open. Choose the desired style and click OK. Any new graphic objects will have this style outline when they are drawn. |
|
CorelDraw 101: All About Outlines Tutorial IndexOutline Tool Overview |
URL: https://www.webreference.com/corel101/5/
Created: April 16, 2001
Revised: April 16, 2001


 Find a programming school near you