Using JavaScript in HomeSite 4.0, Part I: Customizing Toolbars
Using JavaScript in HomeSite 4.0, Part I
Customizing Toolbars
Take a look at the toolbars running along the top of the HomeSite interface. The default configuration for the toolbars is somewhat useful, but everyone will have his or her own group of tags that will be more useful to see.
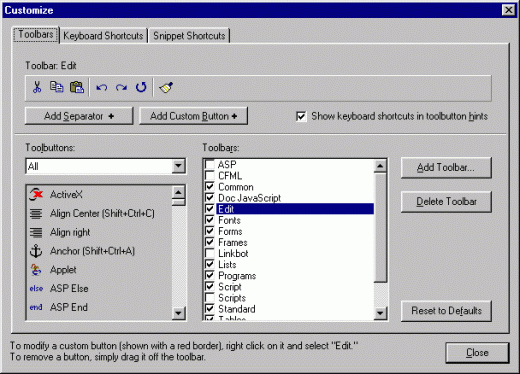
In order to customize one of the toolbars, right-click it, and select "Customize." You should see the following dialog box with the selected toolbar at the top:

The bottom section of the dialog box features a list of available buttons and a list of tabs. By selecting the checkboxes that appear next to the name of each toolbar tab, you can activate or de-activate different toolbars. The top of the dialog box displays the active toolbar (the one reflecting the selected tab). You can drag an item from the long list of buttons to the active toolbar. In the previous illustration, the active toolbar is named "Edit."
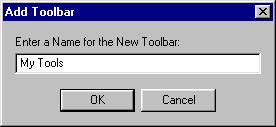
The real power in this dialog box is the ability to create your own toolbar tabs and buttons. Select "Add Toolbar..." on the right hand side of the box, and name the new toolbar:

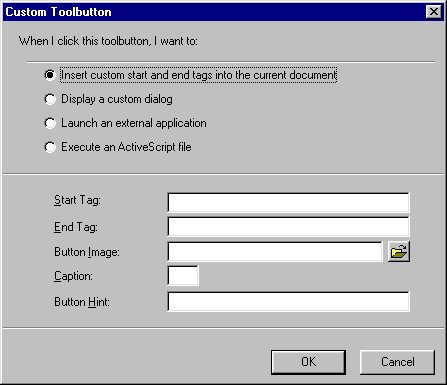
HomeSite automatically selects the new toolbar and displays it at the top of the dialog box so you can start editing it. At this point, all you see is an empty toolbar, so you should add some new buttons. Start by clicking the "Add Custom Button" button. You should see the following dialog box:

As you can see, HomeSite 4.0 supports four different types of buttons. Use the program's extensive help to find out more about these options. In this column, we'll focus on ActiveScript-based buttons. In other words, we'll show you how to use the last type of button in the preceding dialog box.
Before we continue, let's take a look at the third option. You can create custom buttons that launch existing applications. You can also create a button that hands the name of the active HTML document to the application. This is an extremely powerful feature, because it can be used with custom applications. For example, we have written an external Perl script that colors the HTML and JavaScript code in our columns. The task relies highly on regular expressions, so we decided to use Perl rather than ActiveScript.
Once you create a custom button, it belongs to the selected toolbar ("My Tools," in our example). To modify a custom button (shown with a red border), right click on it and select "Edit." To remove a button, simply drag it off the toolbar.
Once you've gone through HomeSite's documentation, you may also want to read some more advanced Toolbar Tips, which will show you how to overcome various toolbar-related problems.
Produced by Yehuda Shiran and Tomer Shiran
Created: September 13, 1999
Revised: September 13, 1999
URL: https://www.webreference.com/js/column48/customize.html


 Find a programming school near you