Reducing Noise, Correcting Chromatic Aberrations & Controlling Vignetting | 3
[previous][next]
Reducing Noise, Correcting Chromatic Aberrations & Controlling Vignetting
Advanced Settings for Reduce Noise
| When you select Advanced, a Per Channel tab appears (Figure 7-21). |
 Figure 7-21 |
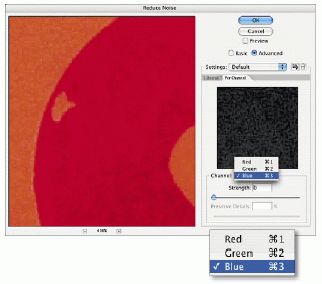
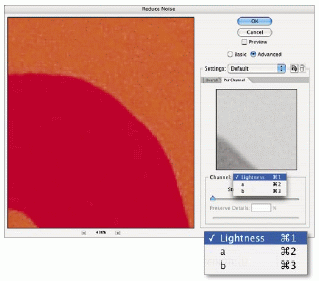
| Using Advanced Settings Per Channel allows you to select individual channels based on the working color space and apply the Reduce Noise filter selectively. If you are working in RGB, for example, the red, green, and blue channels are available. If you are working in LAB, the Lightness and A B color channels are available. Since electronic noise often appears in one channel more than another, this can be quite useful. For example, typically in the RGB color space, it's the blue channel that displays more noise, but not always (Figure 7-22). |
 Figure 7-22 |
Using these settings, you can fine-tune your overall settings by boosting the noise reduction in a particular channel. You may find it useful to do all the adjusting in the individual channels. If you choose to do this, be sure to first adjust the Reduce Color Noise and Strength settings in the Overall menu to 0.
To use the Per Channel settings:
1. Select Advanced Settings.
2. Click on the Per Channel tab.
| 3. Cycle through the different Channels, observing the differences (Figure 7-23). You can magnify/reduce the Color Channel grayscale display independently from the main color display window by holding your cursor over the grayscale display and Option/Alt-click to reduce and Cmd/Ctrl-click to magnify. To reduce the display in both windows simultaneously, place your cursor over either display window, and use Option/Alt+Shift-click; to magnify, use Cmd/Ctrl+Shift-click. Holding the Shift key while dragging will scroll both windows simultaneously. |
 Figure 7-23 |
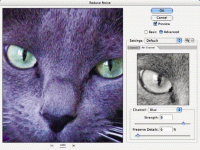
| 4. Identify a channel that has noise (Figure 7-24). |
 Figure 7-24 |
5. Adjust the Strength slider until the noise is reduced satisfactorily.
6. Adjust the Preserve Details slider accordingly.
7. To compare your changes with the original, place your cursor over either the color or the grayscale display, click, and hold. Both the color and grayscale displays will change. If this still doesn't remove all the noise, return to the Overall tab and make additional adjustments there.
Saving Advanced Noise Settings
When you find an optimal adjustment, you can save your settings and apply the setting later to another similar image. To save your settings:
| 1. Select the Save icon (Figure 7-25). |
 Figure 7-25 |
| 2. When the New Filter Settings dialog box opens, type in a descriptive name. The next time you open the filter, your new setting will appear in the Settings pop-up menu (Figure 7-26). |
Figure 7-26 |
[previous][next]
URL:


 Find a programming school near you