Optimizing Web Graphics: Color Reduction
Color Reduction
Optimizing Web Graphics
The Old Way
| When to reduce colors |
|---|
| In general full-color images work best as JPEGs and require no color reduction. Synthetic or flat-color images usually work best as GIFs or PNGs. The fewer the colors, the smaller the GIF or PNG. |
Flat or Synthetic Images
To map the non-dithering CLUT to an existing image, first fill all of the flat-color areas with colors from the 216-color palette. Any other colors in the non-flat areas of your image will dither on some systems, which is usually fine. Now convert the image from RGB to indexed colors and load the special 216-color CLUT (Mode/Indexed Colors/Custom Palette/Dither = None). Photoshop will reduce the image to 216 colors and map the image to this palette. Of course, during this color mapping some posterization may occur.
Hint: Deliberately posterizing your image is a quick way to visualize your image with reduced colors and flatten your image. In Photoshop select Image/Adjust/Posterize... and try reducing the number of colors (Figure 7).
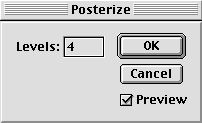
Figure 7 - Posterize Dialog
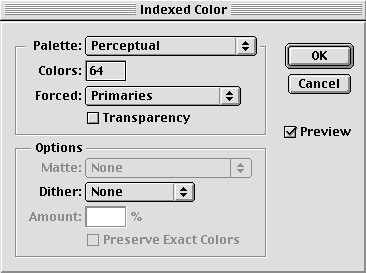
Figure 8 - Indexed Color Dialog
Continuous Tone Images
Most full-color photographic-like images do not reduce well with the 216-color CLUT. Using an adaptive palette with diffusion dithering generally gives the best results. Adaptive palettes are tuned to the colors present in the image, and result in less dithering and a more pleasing image [We96]. On 24-bit systems, 8-bit adaptive-palette images look nearly 24-bit in quality. Perceptive palettes are even better. However, on 8-bit machines browsers will remap the adaptive palette into the client's system palette. Usually the results are acceptable.
| Caution:On older versions of Windows and Mac-platform Photoshop, the system palette turns out to be the 256-color Mac system palette! Adobe says this is a "known factor." While the entire Mac system palette will be non-dithered on a Mac, Windows users will find some colors dithered. |
To reduce an image into an adaptive palette, select Image/Mode/Indexed Color/Adaptive Palette/Dither = Diffusion or None in Photoshop. Select the minimum bit depth that looks acceptable (Figure 8). Use Undo or Revert to tweak until you're satisfied with the image. Remember, your graphics will be viewed on screen at 72 dpi for an instant, not printed on a reverse dye-sublimation printer so you can get away with less bits than you may think.
Histogram Influencing
| In Photoshop: Shift Happens |
|---|
| Photoshop is the most popular program for manipulating images for the Web, but it has some quirks. Photoshop can shift colors slightly when reducing images using an adaptive palette. An image that starts out with non-dithering colors can end up dithered after color reduction. This is because Photoshop reduces colors from a 24-bit to a 15-bit color
space before it calculates the best palette. After reduction, the 15-bit palette gets padded with a few extra bits to show the final palette colors as RGB. Those extra bits cause the color shift, and the colors will dither on 8-bit machines. The eight corners of the color cube, however, are not affected. Every other color will be shifted slightly after adaptive color reduction. One solution is to select the color and manually type in the non-dithering values. Another is to map to a fixed palette. Another option* is to use the Curves feature after indexing an image to nudge the colors back towards their intended non-dithering values. The centers of the curves only need to be nudged one or two units in either direction and the operation usually must be done to each channel separately. Or, you can use Debabelizer instead. Debabelizer does not shift colors, and is a better choice for adaptive color reduction. Color Correctors BoxTop Software has a free plug called WebClipper that fixes this color shift problem. Bundled with their color blender plug-in ColorSafe, WebClipper snaps your image back to the closest web-safe non-dithering colors. Adobe's new Imageready has a new color reduction algorithm that doesn't shift Web-safe colors, and offers color locking and Web-shifting (snap a color to its closest Web-safe color) for more control over the color reduction process. https://www.boxtopsoft.com/ColorSafe/ *Thanks to Tricia McGillis [email protected] for this tip. |
When you index to an adaptive palette Photoshop creates a histogram of the colors in your image, ranked by popularity. Photoshop uses the histogram to determine how much weight to give certain colors in the resulting palette. For simple images, this method works well. For more complex images, Photoshop's choice of color palette may be less than optimal. A little known feature of Photoshop is that you can influence the histogram by using selections.
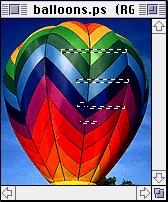
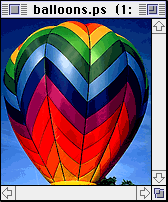
Photoshop normally calculates the histogram using the entire image, but for more control you can select the part(s) of the image that contain the colors you want included in the palette. Photoshop weights the conversion towards the colors in the active selection(s). This technique can be used to create the absolute minimum palette for a given image. For example, the balloon image did not reduce well to 7-bits, but with careful use of selections you can help minimize the damage (compare the blue and purple regions in Figure 9).
| Figure 9 - Histogram Influencing for 128-color GIF | ||
|---|---|---|
 |
 |
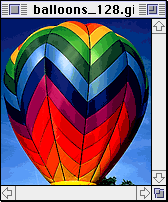 |
| Selections | Influenced GIF = 10.9K | 128-color GIF = 10.7K |
The New Way
Adobe, BoxTop Software, and Spinwave all offer new ways to efficiently reduce colors and minimize color banding. Adobe Photoshop 5.5 encapsulates the optimization features of ImageReady 2 (bundled together) in the new "Save for Web" plug-in dialog.
Imageready
Imagready's "lossy" feature increases redundancy along scan lines to allow LZW compression to work more efficiently.
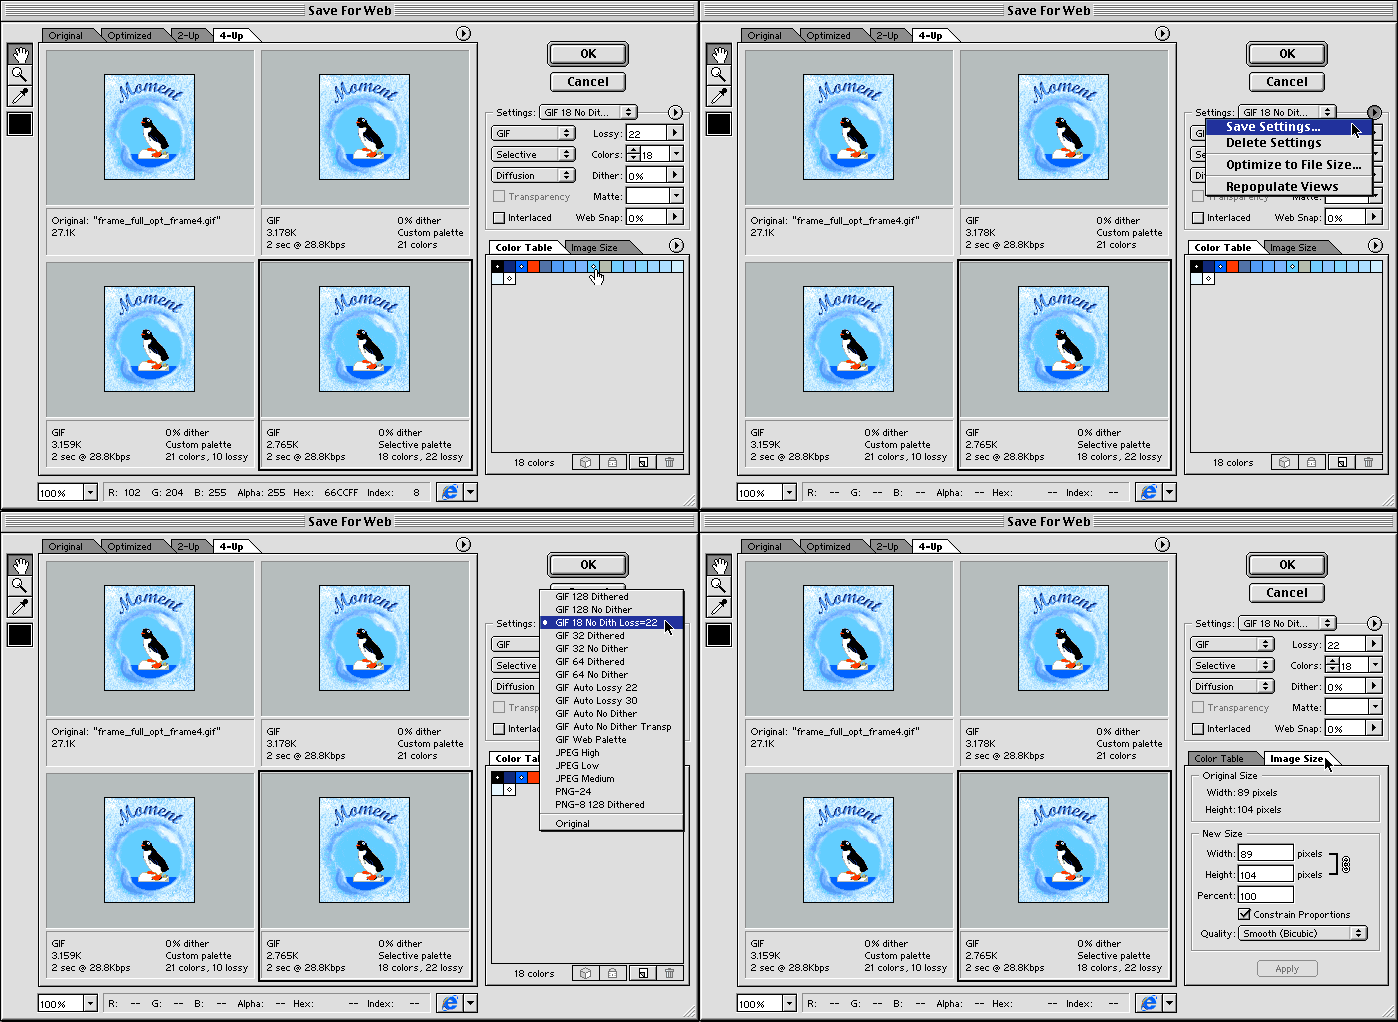
Figure 9a - Photoshop 5.5's Save for Web Dialog
ImageVice
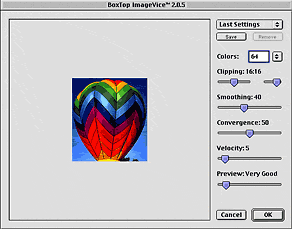
Imagevice 2, from BoxTop Software, is the power-user's color reduction filter. It offers more control than Imageready over its version of the lossy method, and is second only to HVS ColorGIF in its minimization of banding. Unfortunately, the results are not as smooth and small as Imageready's.
Figure 9b - ImageVice 2 Dialog
HVS ColorGIF
HVS ColorGIF is a Photoshop-compatible color-reduction plug-in (Export or Filter) that reduces colors beyond conventional techniques. It mimics how the human eye perceives and masks color and removes any unecessary colors. The effect is the same apparent image quality using less colors. You can actually reduce some 24-bit images to 8- 7- or even 6-bit GIFs and not notice the difference, except of course when you download it.
Using HVS ColorGIF
To use HVS Color you choose File/Export/HVS ColorGIF.... (or use the filter version shown) The dialog box below appears (Figure 10). HVS guesses at the minimum acceptable number of colors, but you can tweak the bit depth lower and preview interactively. For continuous-tone images like the balloon photograph, you'll want the set shading to more. Dithering should be used only for extreme reductions, as this increases file size on the Web (though you can trade off bit depth if you add some dithering). The threshholding option is interesting, you can set what value of particular colors to shift to black or white, to further reduce the color palette. The Gamma dialog allows easy tweaking of the image's apparent brightness on the screen, and makes a handy PC simulator for Mac users. Hit preview to see what effect your settings have on the image. After some sophisticated calculations, HVS Color displays the reduced image in the preview window.
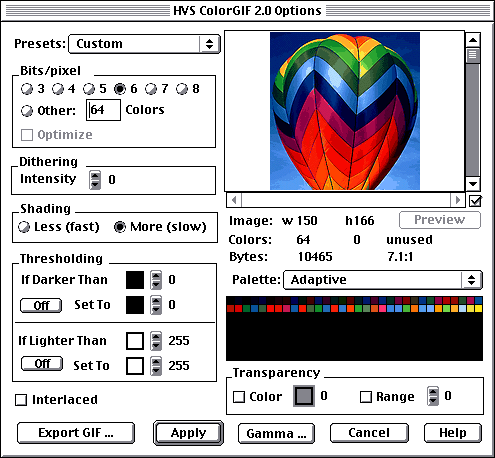
Figure 10 - HVS ColorGIF 2 Dialog
Digital Frontiers claims that resultant savings range from 10-70% depending on the image. Every serious graphics designer should have HVS ColorGIF.
Now that you have reduced the color palette it's time to save the image in the most compressed way.
Comments are welcome
Created: June 10, 1996
Revised: Feb. 23, 2000/P>
URL: https://webreference.com/dev/graphics/reduce.html




 Find a programming school near you