3D Animation Workshop: Lesson 97: Inverse Kinematics in MAX
|
|
Lesson 97 - Inverse Kinematics in MAX -Part 3
It's only fair to mention how difficult it is to find your way through the various tools that I've been demonstrating. Due to the historical development of MAX, they are divided between the Motion Panel and the IK Tab of the Hierarchy Panel, and it takes a while to get used to bouncing around between them.
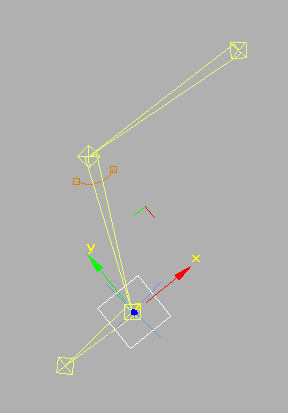
Let's add a foot. I deleted the Dummy, which is best applied only after the entire structure is complete. If the heel Bone (joint) is selected when we draw the next Bone, it will be automatically parented (linked) into the chain. By default, the new Bone will have its own effector, complicating the situation quite a bit. If we lift the heel, the toe stays pinned to its effector.
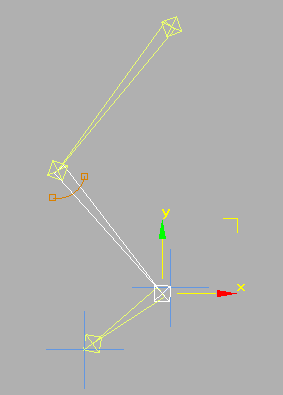
This kind of setup can be useful, but it's a little more complex than we want to get started with. We can undo the Bone and redraw it with the Create End Effector box unchecked. Or we can select the Bone as we have it and delete its effector in the Motion Panel. If you do, you'll discover that there are two kinds of End Effectors. This Bone will have a Position End Effector, which you can delete. But there is also a Rotation End Effector, which does not exist by default and must be created.
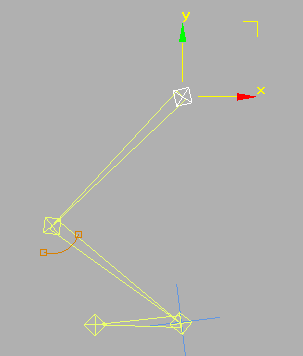
Let's understand the importance of the Rotation End Effector in its practical context. If we translate the hip joint down to bend the knee, the toe ends up going through floor. This is because the angle through the ankle remains constant.

This is where the Rotation End Effector comes in. By default, the ankle Bone was created with a Position End Effector, but not a Rotation End Effector. We select that Bone and create a Rotation End Effector as well. Now, the rotation of this Bone (joint) is controlled by the effector, and is therefore unaffected by rotations up the chain. The foot therefore stays on the floor when the knees are flexed by dropping the hip.
Now let's bring the Dummy object back. But when we link it to heel Bone, the foot Bone goes crazy!
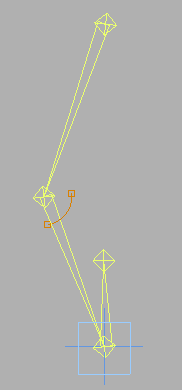
This kind of thing is classic MAX. I'm always coming across frustrating problems like this. As it turns up, you need to add the Rotation End Effector only after you've "parented" the Dummy. So we remove the Rotation End Effector, bind the Dummy, and finally put the Rotation End Effector back on. Now it works. The foot stay properly planted when we lower the hip.
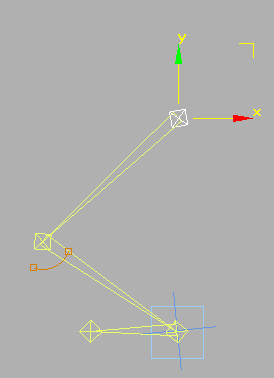
The Dummy can be used to both lift the heel and rotate the foot. Rotating the Dummy rotates the effector, which rotates the ankle Bone, which rotates its child, the foot Bone. (Wasn't there a song that went something like this?) Note how that foot remains aligned to the local axes of the rotated Dummy.
Whew!! Time to quit. But with all this background out of the way, we can return to skinning the skeleton in the next lesson.
| To Return to Parts 1 and 2, Use Arrow Buttons |
|
Created: July 17, 2000
Revised: July 17, 2000
URL: https://webreference.com/3d/lesson97/3.html
 Find a programming school near you