3D Animation Workshop: Lesson 97: Inverse Kinematics In MAX
|
|
Lesson 97 - Inverse Kinematics in MAX - Part 2
The fact that you can't select the effector directly is a big problem, because this is the object you want to control. The answer lies in creating another, selectable, object, and binding the effector to that object. The standard method is to create a null object, specifically a MAX Dummy object, for this purpose. You can create the object and then use the Align tool to center it right on top of the effector (by way of the final Bone). Once centered, you select the final Bone and use the End Effector Parent tool to "parent" the effector to the Dummy. This is just the kind of terrible use of language that is typical of MAX. To 99 out of 100 3D practitioners, the word "parent" refers to the parent-child transform hierarchy. For example, each Bone is, in common usage, "parented" to the previous Bone so that they function as a chain. If they were not so parented, there would be no chain and therefore no IK. MAX refers to such parenting as "linking." But "parenting" the effector to the Dummy has nothing to do with the standard transform hierarchy. It's an idea all to itself.
The following image illustrates the setup with the Dummy selected.
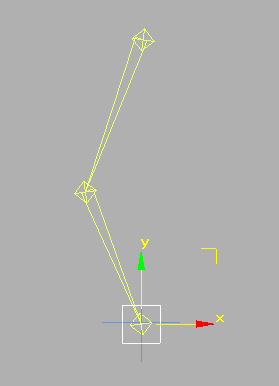
Now we can use the Dummy to control the effector. Let's test it out. We can translate the top Bone (the hip joint) down to bend the knee, while keeping the heel on the ground.
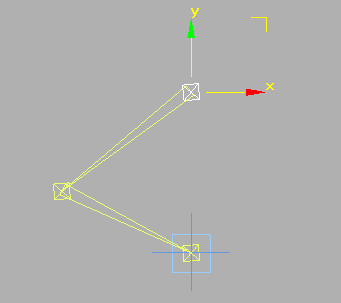
We can lift the Dummy to bend the knee, while keeping the hip in place  the standard stepping action.
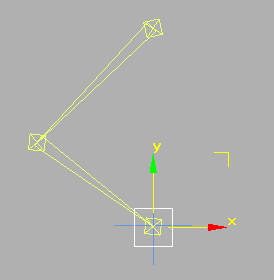
But a knee should bend only one way. MAX Bones are remarkably willing to flex both ways through a joint. Ouch!
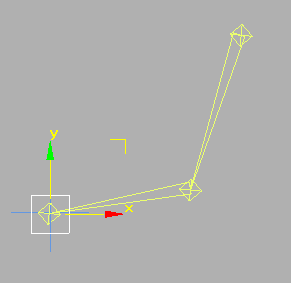
In a really reliable IK system, the angle we put in the knee when we drew the Bones in the first place would have made it difficult to rotate the joint in the opposite direction. That's why putting a bend in the knee is standard procedure. But MAX's IK does not offer this comfort. You might wonder why this matters. After all, if you don't move the Dummy so as to break the knee, it won't be broken. But matters are not so simple. Often in animating between one pose and another, you'll find the effector passing through a location that breaks the joint.
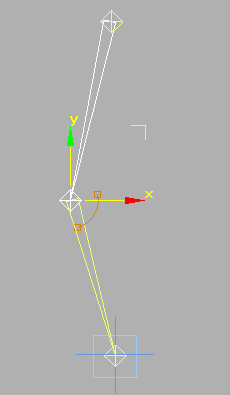
The answer to this problem is not too difficult. We can, and generally must, set constraints on each Bone. First we must determine which of the three rotational axes should be active. The knee is a simple hinge and therefore should rotate around only one axis. Then we set the angular limits of rotation. In the following image, the knee is constrained to rotate only in the range indicated by the little arc.
| To Continue to Part 3, or Return to Part 1, Use Arrow Buttons |
|
Created: July 17, 2000
Revised: July 17, 2000
URL: https://webreference.com/3d/lesson97/2.html


 Find a programming school near you