3D Animation Workshop: Lesson 69: MAX NURBS--The Piston Project
|
|
Lesson 69 - MAX NURBS--The Piston Project - Part 2
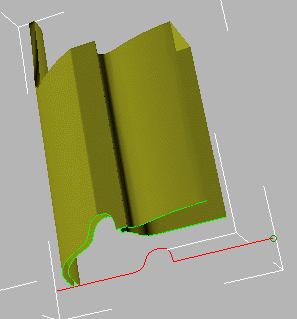
The next step was trimming the top of the surfaces. A single curve (shown in red) was projected on both surfaces and used to trim each.
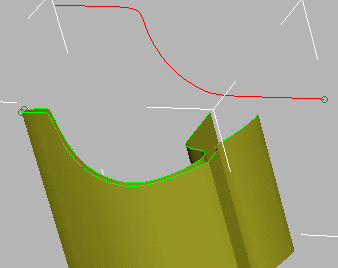
The main reason for experimenting first was to see how MAX could handle two overlapping trims of the same surface. The top edges of the piston had some complex edges that were a lot easier to understand if trimmed in two steps. There were a couple of tricks to discover along the way, but MAX stood up to the test. The second trim leaves a length of the first trim curve hanging in space, but you can't break off the excess because it needs to pass through the entire original (untrimmed) surface.
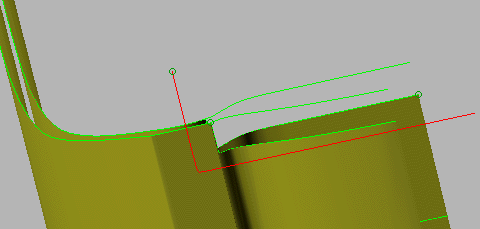
This creates a problem because both sets of trim curves must be skinned to create the top surface.
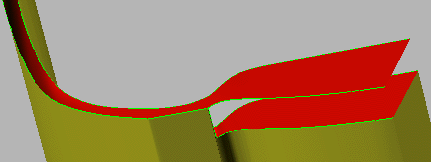
The answer to the problem was to make the "too-long" surface independent of the two trim curves from which was skinned. This surface could be clipped back by deleting rows of surface CVs without compromising the integrity of the surface trim. Some careful editing was needed at the edge to get the CV's aligned just right. The following is a test render to see the quality of the new edge.
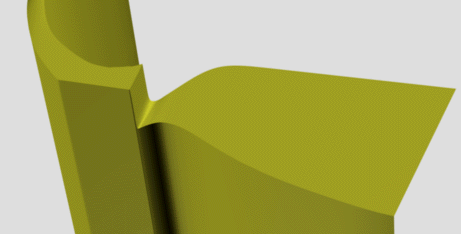
Next, we moved on to the bottom of the object, once again trimming both the inside and outside surfaces with projections from a single curve.
| To Continue to Part 3, or Return to Part 1, Use Arrow Buttons |
|
Created: June 21, 1999
Revised: June 21, 1999
URL: https://webreference.com/3d/lesson69/part2.html


 Find a programming school near you