3D Animation Workshop: Lesson 56: Surface Suite for Professional Texturing | 2
|
|
Lesson 56 - Surface Suite for Professional Texturing - Part 3
I created a similar NURBS version of the face in Softimage.
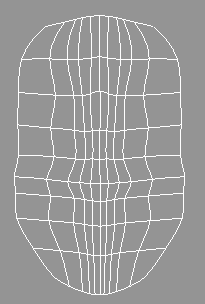
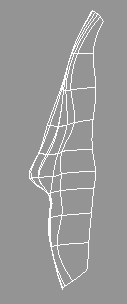
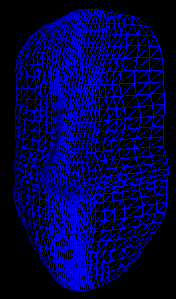
The trick to using NURBS in Surface Suite PRO relies on the fact that when NURBS objects are exported into polygon formats like .3ds and .obj, the vertices of the new polygonal version can preserve the implicit u,v coordinates of the NURBS surface. So I assigned a bitmap to the NURBS model while still in Softimage, using any image that was handy, thereby creating texture coordinates. Then I exported the model using .3ds format, and the polygonal model entered Surface Suite with u,v coordinates at all the vertices. Here is the polygonal version as seen in Surface Suite.
This time I applied the texture a few points at a time to understand the process better. Here is the result after only four cardinal points are created.
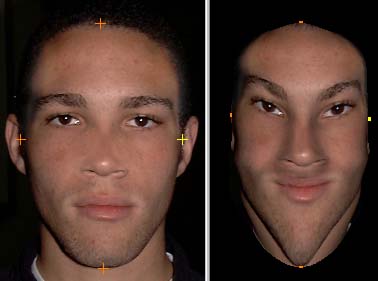
By adding points along one edge, and moving them around on both the model and the image, I was able to fit the image cleanly to the model.
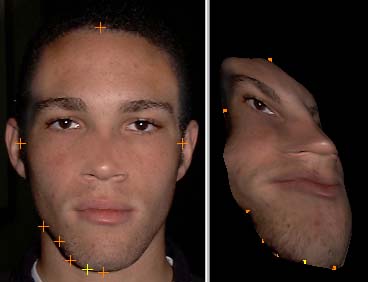
I kept creating and editing points until I was satisfied with the fit.
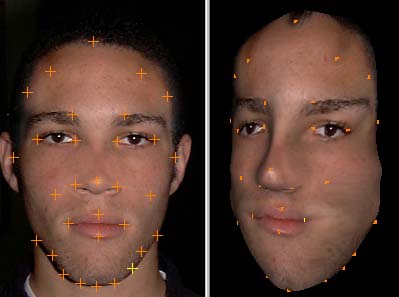
Once again, I rendered out a bitmap. This one uses the uv coordinates imported with the .3ds polygonal model, which are those of the original NURBS surface.
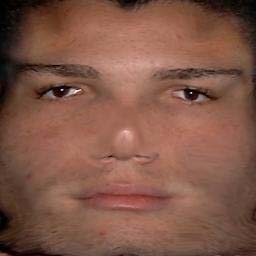
Back in Softimage, I applied this bitmap to the NURBS face and the fit is identical to that in Surface Suite.
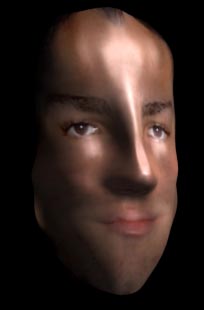
With a high quality render in Mental Ray, these initial results are exciting and intriguing, in part because the entire feeling of the new image is so different than the original image of John. Surface Suite is going to change a lot of things and a lot of thinking.
| To Return to Parts 1 and 2, Use Arrow Buttons |
|
Created: Dec. 22, 1998
Revised: Dec. 22, 1998
URL: https://webreference.com/3d/lesson56/part3.html


 Find a programming school near you