3D Animation Workshop: Lesson 51: Nendo--Innovation in Modeling
|
|
Lesson 51 - Nendo--Innovation in Modeling - Part 3
To create a new row of edges, we select all the vertical edges beneath the midline.

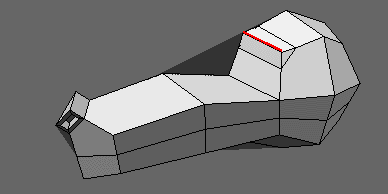
The "connect" command bisects these edges and joins the newly created points. Next, we select the edge at the ridge of the brow.

Here's another breakthrough tool. By applying the extrude command to the edge, two new edges are created and the selected edge can be pulled out (or in). This is a great idea.
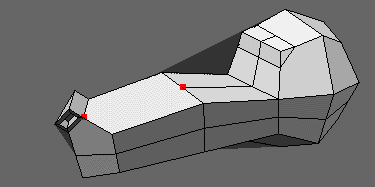
Now we select some top edges.

The connect command creates bisecting edges. To complete the continuity of the mesh, we select a couple of points.
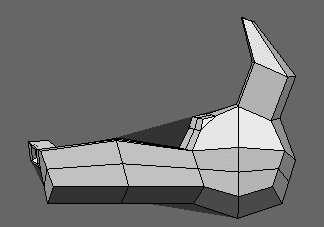
After connecting the points with an edge, we start on the ears. We extrude out a selected face.
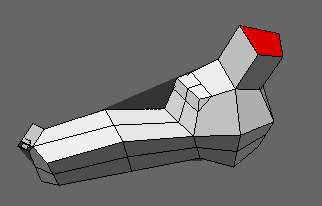
Then we extrude a second time, and scale down the top face to create a more pointed look.
The face can then be moved forward.
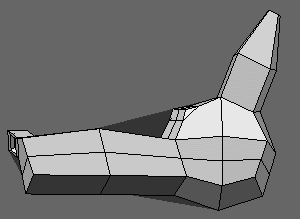
Rotating around for a better view, we are able to inset and extrude inward on the face of the ear. This requires a couple of clean-up steps not shown here, but is still very easy.
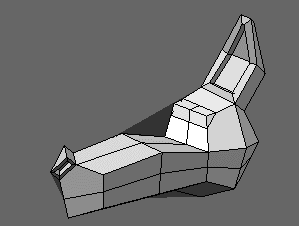
With the half of the model complete (at least for our purposes), we mirror it to create the whole.
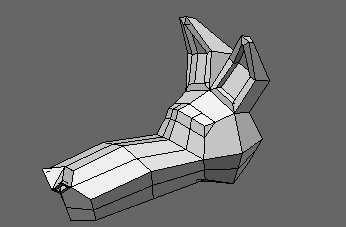
This very low-poly version might be right for some purposes, especially if texture-mapped. But we can also apply the smooth command again to get rounder (though heavier) geometry.
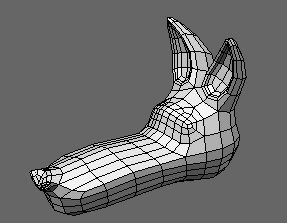
Modeling is a difficult task, and most current tools provide power at the cost of a complexity that interferes with creative flow. As we see in this example, Nendo's clean interface and simplicity allow the artist to think about the model and less about managing the application. Nendo is not perfect, nor is it the answer to all modeling problems, but it's a giant step forward.
| To Return to Parts 1 and 2, Use Arrow Buttons |
|
Created: Oct. 13, 1998
Revised: Oct. 13, 1998
URL: https://webreference.com/3d/lesson51/part3.html
 Find a programming school near you