3D Animation Workshop: Lesson 47: More Radiosity Magic | 2
|
|
Lesson 47 - More Radiosity Magic - Part 3
Our little room feels pretty sterile and artificial. Bitmap images of wood surfaces can be applied to the table and the floor, with the following results.
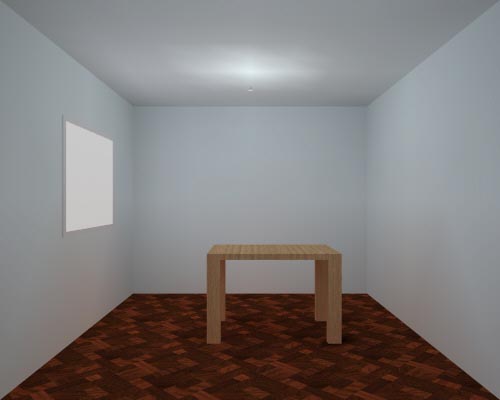
Notice how much the color of the walls and ceiling have changed, just because we changed the color of the floor. This is the effect of diffuse reflection. I turned up the bulb light a bit because, with the darker floor, the walls of the room had become too dark.
The wood surfaces here are not very pleasing. They seem to be only color patterns, and lack the warmth of real wood. If Lightscape is to be used to help visualize interiors, we need a much more convincing effect.
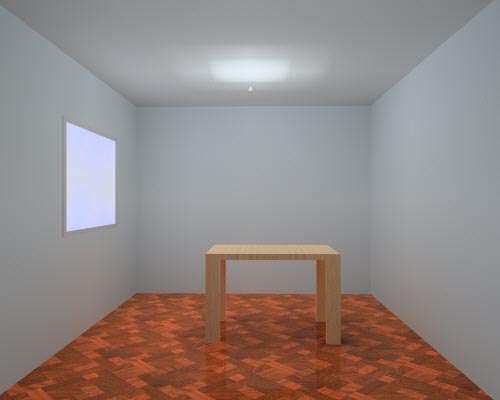
Once again, ray tracing is the answer. Varnished wood surfaces are highly reflective and, although the color of the wood floor may be dark, the finish itself reflects a lot of light back into the room.
Now this looks much better!

The table top is reflecting brightly, like finished wood, and the table legs are reflecting on the wood floor. This is particularly important here because the dark wood conceals the subtle shadows, and the reflections are the only visual clue that the table is resting on the floor.
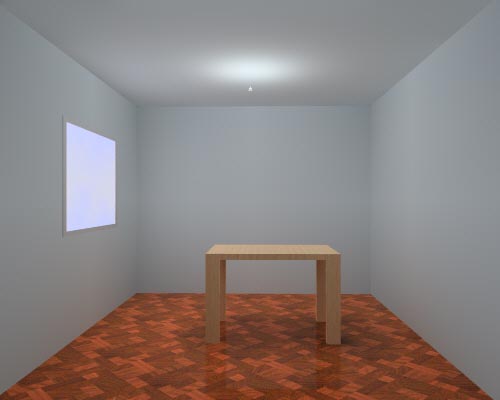
Let's go back and clean up the problems with the ceiling. A flatter finish of paint will be less reflective and will get rid of that confusing trace of the window pane on the ceiling.

Working from this more accurate solution, the final ray-traced result is much more convincing. Voila!
| To Return to Parts 1 and 2, Use Arrow Buttons |
|
Created: August 18, 1998
Revised: August 18, 1998
URL: https://webreference.com/3d/lesson47/part3.html
 Find a programming school near you