3D Animation Workshop: Lesson 39: Softimage--NURBS Blending | 2
|
|
Lesson 39 - Softimage--Nurbs Blending - Part 3
One of the most powerful and fascinating features of Softimage is the power to deform an object by the surface of another object. This surface deformation tool has an enormous range of creative applications, especially in animation. The Softimage documentation is fond of describing how it can be used to animate wax dripping down the side of candle. But it is also very useful for blending NURBS surfaces.
Let's create an arm blending unit by taking a NURBS curve and revolving in a circle.
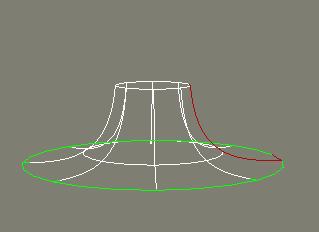
The curve highlighted in red is the original NURBS, and the green closed curve describes the revolution used to create the surface.
Next we deform this object to the surface of the torso and adjust it so that it is floating across that surface.
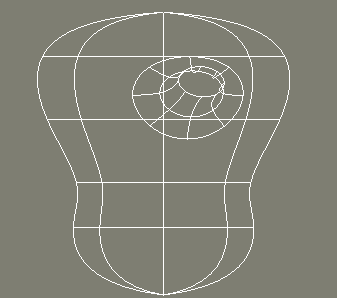
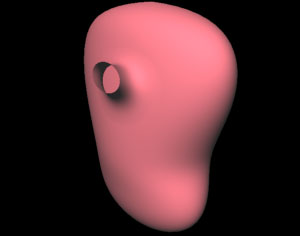
This is really quite amazing. We have the freedom to move this unit (typically called a "fillet") anywhere we want, interactively. Contrast this with the projected curve method demonstrated before. If we want to change the location of our blend with the projected curve method, we must reproject the curves onto the new location and start from scratch. With the surface deformation approach, using the fillet, we can experiment all kinds of angles and locations.
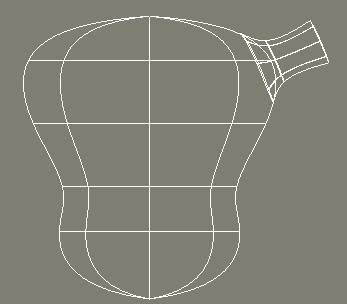
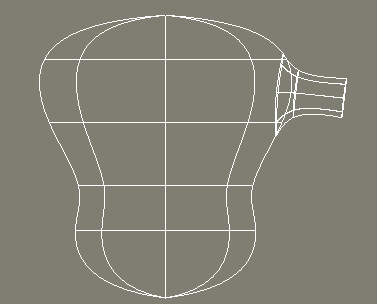
Another advantage over the projected curve method is in the much lower density of the NURBS grid. The single biggest argument for NURBS modeling is in its power to describe subtle curvature with the minimum number of editable points. But projected curves typically create lots of points, and therefore a very dense NURBS object when skinned. By contrast, the fillet here, using surface deformation, is very simple and easily editable.
On the other hand, the surface deformation approach is much harder to master than the projected curve method, and not nearly as reliable. It takes many hours of practice to become comfortable with the surface deformation tool, and it will often be difficult to get a completely acceptable and seamless blend from all angles.
Here's a render showing a pretty nice blend, but the seem is still visible.
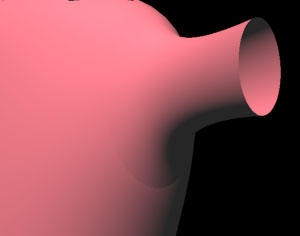
The transparency fade technique we used before will also help here to soften the blend.
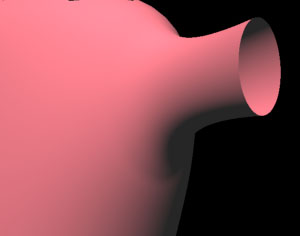
Like all aspects of NURBS modeling, blending is an art. You've really got to sweat the deatils.
| To Return to Parts 1 and 2, Use Arrow Buttons |
|
Created: April 28, 1998
Revised: April 28, 1998
URL: https://webreference.com/3d/lesson39/part3.html


 Find a programming school near you