3D Animation Workshop: Lesson 117: Welding Vertices in MAX 4 | 2
|
|
Lesson 117 - Welding Vertices in MAX 4 - Part 2
As it turns out, the welding process created duplicate edges. Instead of four edges meeting at the welded vertex, there are eight. Each apparent edge is actually two edges on top of each other, as you can confirm by selecting and checking the display in the Editable Mesh panel. In fact, the situation is even worse than that, because an invisible diagonal edge has also been doubled. Try this out yourself to make sure you understand the issue.
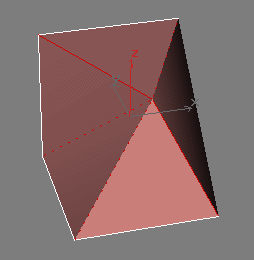
What does this mean in practical terms? In my experience, this duplicate edge problem can sometimes cause bizarre peculiarities when editing a mesh, and that seem to defy understanding. In any case, it's confusing. For the moment, just be aware of the issue. As welding is so essential, you just have to put up with the consequences.
Target welding involves dragging from one vertex to another. The vertex that you drag from is welded to the second vertex, right on the location of the second vertex. This technique can be a little confusing to those who are not used to it. You must first activate the Target button to get into the Target weld mode. With the Target button on, click on a vertex to select it. The Transform Gizmo will appear with its axis tripod, but don't be misled by this.

Drag across the screen until you are on top your target vertex. The vertex will not follow, but a little cross icon will appear when you reach the target vertex. Release the mouse button to perform the weld. Be sure to click on the Target button to get out of the Target weld mode.

If you now jump to the Edge sub-object mode, you'll find duplicate edge problems, similar to what we saw before. In fact, if you collapse an edge, rather than weld its two vertices, you'll also find duplicate edges in Editable Mesh. There seems to be no way around it.
With this background, let's consider the welding in the new Editable Poly object.
| To Continue to Part 3, or Return to Part 1, Use Arrow Buttons |
|
Comments are
welcome
and brought to you by webreference.com
Created: April 24, 2001
Revised: April 24, 2001
URL: https://webreference.com/3d/lesson117/2.html
 Find a programming school near you