3D Animation Workshop: Lesson 102: My Modeling Secret | 2
|
|
Lesson 102 - My Modeling Secret - Part 2
A first glance, the Slice modifier might seem identical to the Slice Plane tool in the Editable Mesh panel. But it's not. The Slice modifier, preserves a quad structure and does not divide the invisible diagonal edges running through quad polygons. The subdivision surface remains regular.

Even more important, the cut has not produced unwanted vertices to complicate the modeling process.
Using the Slice tool for this purpose is a hassle. You have to put the modifier on the stack, adjust the gizmo into position, and finally collapse the result into the mesh. But even if it were effortless, there would still be a problem. The Slice tool works fine in the very simple case in which a straight cutting path will do the job. But we'll often need to follow a contouring path. For example, what if we need to but a horizontal cut through a bent "arm?"

The Slice tool can't do the job, and using the Cut tool in Editable Mesh to cut through each edge individually around the entire object is not a workable solution.
Here's where we see an advantage of true NURBS modeling. You can easily divide a NURBS surface in a way that follows existing contours. In the following image, a new isoparametric curve is added to the NURBS surface.

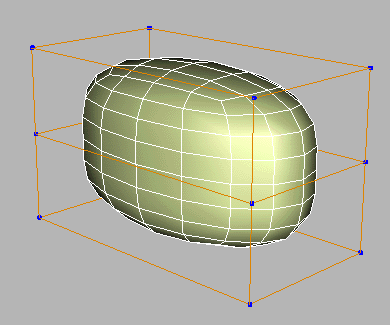
Wouldn't it be great if we could cut up a control mesh this easily for use with subdivision surfaces? It turns out that we can.
| To Continue to Part 3, or Return to Part 1, Use Arrow Buttons |
|
Created: September 26, 2000
Revised: September 26, 2000
URL: https://webreference.com/3d/lesson102/2.html
 Find a programming school near you