3D Animation Workshop: Lesson 87: More Cult3D Interactivity
|
|
Lesson 87 - More Cult3D Interactivity - Part 1
In our previous column, we began a look a Cycore's Cult3D technology for Web 3D. I stressed that the most interesting aspects of Cult, in my opinion, was their approach to building user interactivity in a rather creative authoring environment.
The primary tutorial project that accompanies the Cult3D Designer authoring tool involves an animated Minidisc CD player, and this choice reflects Cycore's business focus on using interactive Web 3D to demonstrate the operation of consumer products. A Cycore employee walked me through this demo when I visited the company, and as it undoubtedly reflects the best strengths of the packages, let's take a look at it here.
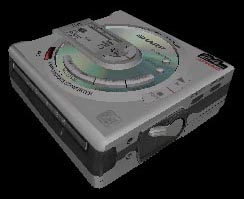
The model was made in 3D Studio MAX, and exported as a Cult3D object. An initial (and somewhat unfairly small) view of the object in the Cult3D viewer looks like this.
This object, however, is extremely complex. It is composed of a considerable number of independent parts, most of which are hidden inside. Take a look at the following expanded scene graph, which indicates every separately animatable unit.
Note that this list consists mostly of buttons (and a lever) that control the operation. Thus a good interactive demonstration would allow users to use these virtual controls in a 3D viewing window. This is precisely what the Cult3D Designer environment is tuned for.
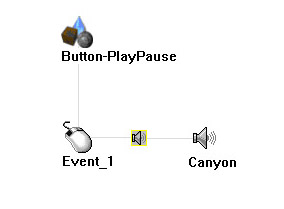
The most obvious thing a virtual CD player should do is to play music. Cult handles audio by including it within the object file, which is definitely convenient. Audio compression is a huge and important subject that most 3D artists and web designers know little or nothing about. Cult offers default compression of .wav files and an impressive variety of "designer codecs" that obviously merit serious exploration. But it's easy to set up the interactivity using the Cult3D Designer Event map. By dragging the various elements onto this window, and onto each other, the project connects a sound file up to a mouse click on a specific buttonÂin this case the Play-Pause button.
| To Continue to Parts 2 and 3, Use Arrow Buttons |
|
Created: Feb. 28, 2000
Revised: Feb. 28, 2000
URL: https://webreference.com/3d/lesson87/
 Find a programming school near you