3D Animation Workshop: Lesson 61: Modeling and Animating
|
|
Lesson 61 - Modeling and Animating - Part 2
Since we're working in Lightwave, we don't have tools for precisely controlling the effect of bones on individual vertices (as are found in MAX's Character Studio or Softimage). So, just as we did with the legs, the arms must be rotated out away from the body when the bones are laid out and activated. This will prevent bones in the arms from pulling vertices on the torso. But there's an equally important reason for rotating the arms out in the modeling process. We need to see how the armpit and shoulder area will look when the arm is extended. Rotating selected polygons in the modeling program doesn't give us a truly accurate sense of how bones will work, but it's definitely helpful.
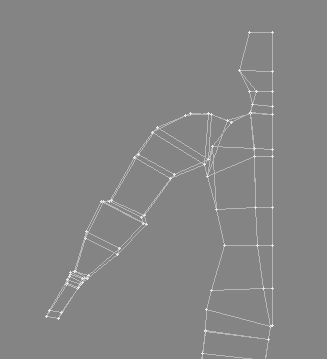
Here is the mesh of the cage with the arm rotated. It definitely needs some work.
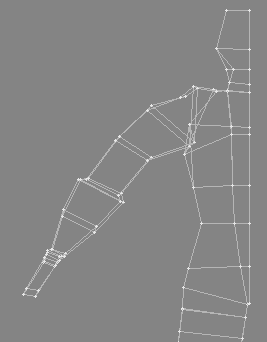
After some editing, the shoulder looks satisfactory in this position.
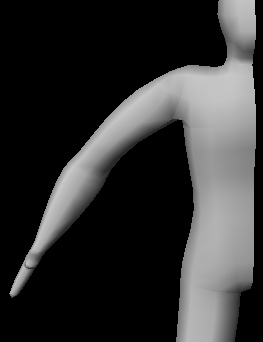
Although this will be the position we'll use for boning, let's rotate the newly edited arm back down in the modeler to see how it looks. Once again, this is not an accurate test of how it will look when rotated in the animation program using bones, but it's worth checking out before going on.
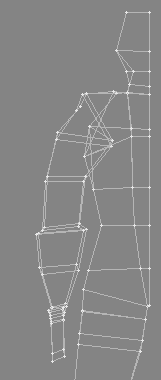

This is pretty good. But how will it work under the real test of boning. It's back to Lightwave Layout, where we replace the older model with the newer one, right on top of the original set of bones. Of course, the chains of bones in the arms no longer make any sense, so we delete them and rebuild to follow the new model. Here is the model before the arm is rotated down.
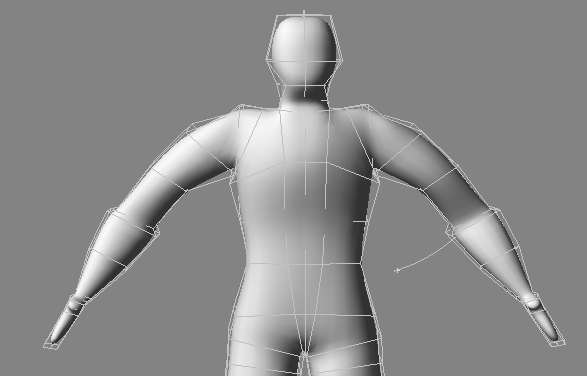
With the shoulder and upper arm bones properly rotated downward, the mesh deforms like this.
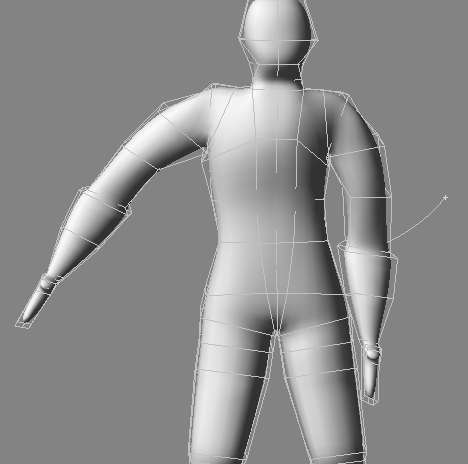
The look at the shoulder and the armpit is really quite good, but there's a problem. The torso is caving in as the arm comes down, opening up space between the elbow and the side of the body. This is because vertices on the chest are being controlled by the bone in the upper arm.
| To Continue to Part 3, or Return to Part 1, Use Arrow Buttons |
|
Created: Mar. 1, 1999
Revised: Mar. 1, 1999
URL: https://webreference.com/3d/lesson61/part2.html


 Find a programming school near you