3D Animation Workshop: Lesson 60: Movin' on Up
|
|
Lesson 60 - Movin' on Up - Part 2
You may well be asking why we didn't face any of these problems in the walking motion in the prior lesson. If inverse kinematics is used, the user doesn't rotate the bones directly, and therefore doesn't face the difficulties faced in doing so. The bones are rotated indirectly, using the motion path of the goal object. With IK, you really don't have to think about the rotations of the bones.
So why don't we use inverse kinematics (IK) on the upper body as well? Many people do. For simple swinging arms to accompany a walk, IK is perfect. This is because the entire motion is largely confined to a single plane, just as the stepping movement of the legs is. Put goals on the wrist bones and move simply them back and forth.
But for more general animation of the arms, I find IK to be more trouble than it's worth. You can develop an elaborate IK setup, with all kinds of rotational constraints, but even this can be clumsy. To get an idea of the problem, grab one of your wrists (on your own body) and move it around using the other hand. The elbow just flops around. Our arms rotate cooperatively at many different points, and this requires precise control of the elbow and shoulder. To do that, I generally find it necessary to bite the bullet and rotate the bones directly using forward kinematics.
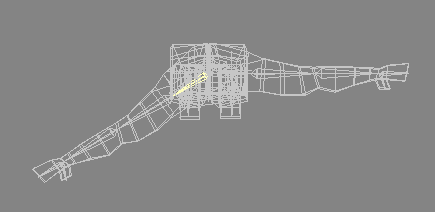
The first task is to understand all the rotations in the chain, and how they interact. We can only get the process started here, but it should be enough to give you the general direction. We'll use a chain of four bonesÂthe shoulder, the upper arm, the forearm, and the wrist. I reworked the bone structure from our earlier system to replace the single hand bone with a tiny wrist bone parented to a new hand bone and a thumb bone. Thus rotation of the wrist bone rotates the hand and thumb together. The use of tiny bones as links is common and valuable.
To start, let's rotate the shoulder bone at the top of the chain.

The Metamation setup in Lightwave, with its distinction between the boned cage object and the final smoothed object, make things easy to see. Here the shoulder bone has been rotated in the Heading. Lightwave uses the terms Heading, Pitch and Bank (from aviation) instead of rotation around the x, y and z axes. At first it can be confusing, but I've come to prefer it. Heading is rotation around the y axis, Pitch around the x, and Bank around the z.
The Heading rotation of the shoulder upward is important. Stretch your arms up over your head and feel the lift in the shoulder. The range of motion in the opposite direction is much smaller. We can only dip our shoulders so much. The shoulder can also rotate forward and back. The range is not very great but it contributes to positioning down the chain. Remember that posing models using forward kinematics works from the top down. If you rotate a bone and them rotate its parent, the orientation of the child may no longer make any sense, and you end up bouncing back and forth. That's why it so important to learn how rotations operate down a chain, as we are doing here. The forward and back rotation is a Pitch rotation in this case. The next image shows just about the maximum for normal forward rotation of the shoulder.

Let's jump past the Bank rotation of the shoulder to move on to the next bone and get a feel for how the two work together.
| To Continue to Part 3, or Return to Part 1, Use Arrow Buttons |
|
Created: Feb. 15, 1999
Revised: Feb. 15, 1999
URL: https://webreference.com/3d/lesson60/part2.html


 Find a programming school near you