3D Animation Workshop: Lesson 59: Stepping Nicely
|
|
Lesson 59 - Stepping Nicely - Part 2
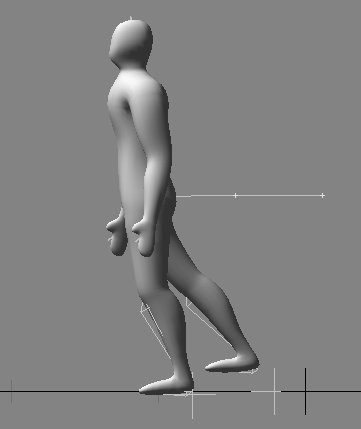
These little GIF animations are pretty crude, but until we reach the promised land of high-speed Internet transmission for all, they'll have to do. Despite what it may look like, both feet are on the same ground plane. Rendering in Lightwave is possible only through a camera view and thus there is perspective distortion. If we could afford the additional file size of rendering a ground plane with shadows in this scene, it would be clear that both feet are on the ground.
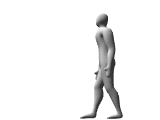
The motion is good enough for our purposes here. We've simplified things by using only a single bone in the foot. A good step requires a bend at the ball of the foot, when the heel lifts before the toes do. We push off from the ball of the foot. But we'll have our hands full with what we've got here.
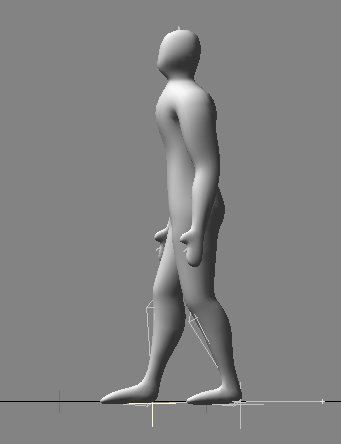
So now we need the second step. We go to frame 30 and once again pull the root bone forward to cover about the same distance as the first step. The new front leg becomes the back leg again.
And then we move the foot goal of the appropriate leg to the front to create the ending pose.
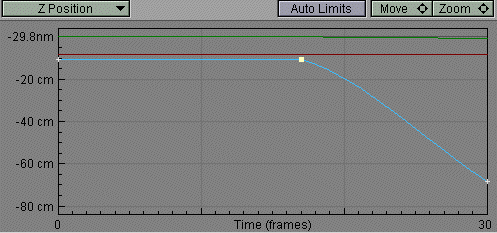
There are two things missing here. One is the vertical lift in the second step as we had before, and we'll add it in a second. But there's something else that didn't apply to the first step. As we have it now, the foot goal we just translated has keyframes at Frame 0 and Frame 30. That means that it will start to move from the very first frame. We need to keep the foot on the ground until after the first step is planted. The first step was planted at Frame 15, and we need a slight overlap such that both feet are on the ground for a couple of frames. Thus we'll need to create a key at Frame 17, with the foot in its original position. This almost works, but there's a funny shifting of the foot that results. A graph of the movement will illustrate why.
The graph below shows the motion path of the foot goal. The first two keys have the same value, but there is a slightly curved line between them.
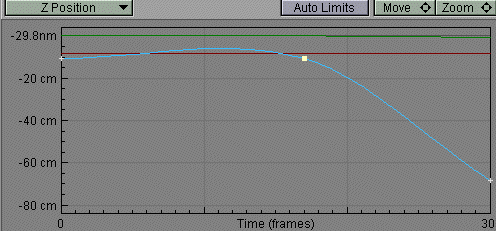
This is spline interpolation. Interpolation is the creation of values between the keys that the user sets. That's why we have continuously animated motion when we've only set a couple of key poses. By default, all animation programs attempt to create curves (splines) through the keys, and this is correct for most purposes. But sometimes, as here, we may need to override the spline interpolation to create linear interpolation between the keys. By changing to linear interpolation between the first two keys, the value stays absolutely constant and the foot goal is locked in place until Frame 17.
| To Continue to Part 3, or Return to Part 1, Use Arrow Buttons |
|
Created: Feb. 1, 1999
Revised: Feb. 1, 1999
URL: https://webreference.com/3d/lesson59/part2.html
 Find a programming school near you