3D Animation Workshop: Lesson 38: Softimage--Closing NURBS Surfaces
|
|
Lesson 38 - Softimage--Closing NURBS Surfaces - Part 2
Skinning is probably the single most important technique in NURBS modeling. Its application is so broad that one will always come up with new ways of using it. Our purpose here is just to introduce the idea visually, and in the simplest terms. The practical problems of skinning (and all NURBS modeling) are deliberately being avoided. In other words, it's not nearly as easy in practice as our simple examples here may suggest.
Instead of extruding an open curve and closing the surface as we did before, let's start with a closed NURBS. Here is a NURBS circle.
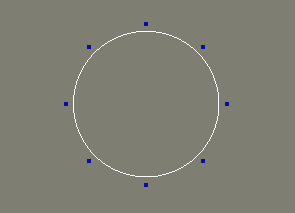
We could just extrude this into a NURBS cylinder, but lets try a different approach. We'll create four copies of the circle and line them up in a vertical row. Here's a front orthographic view.
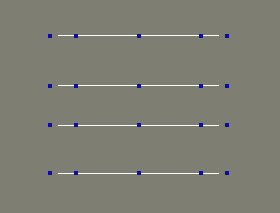
A perspective wireframe view will help.
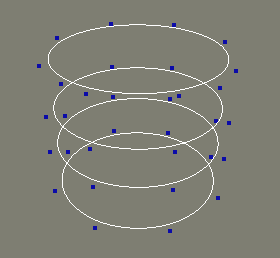
To skin these into a single surface, the curves must be selected in order. After the skin command is applied, we have a NURBS surface.
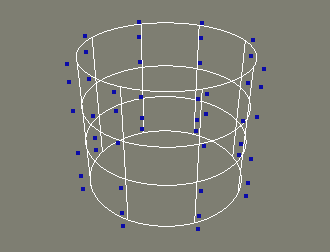
This is the same result we could have obtained by merely extruding the original circle. But by skinning, we can loft a surface over different curves. Here, the circles are scaled to different sizes.
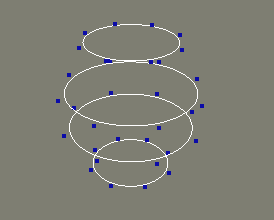
Now we'll skin again.
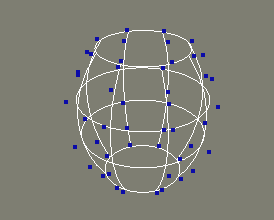
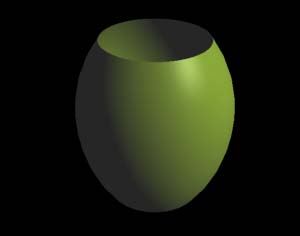
In the following render of this last wireframe, don't be confused by the color. Our surface is a mere shell that is hollow inside. There are no end caps, and we see only the color of the inside surface through the hole at the top.
Thus far, we've closed our NURBS surfaces in one dimension to make cylindrical shapes. The most detailed arms and legs of human and animal characters can grow from these simple roots. But how do we get a completely closed surface, like a sphere?
| To Continue to Part 3, or Return to Part 1, Use Arrow Buttons |
|
Created: April 14, 1998
Revised: April 14, 1998
URL: https://webreference.com/3d/lesson38/part2.html


 Find a programming school near you