3D Animation Workshop: Lesson 24: 3D Studio MAX | 3
|
|
Lesson 24 - 3D Studio MAX - Part 3
Combining multiple deformation tools will begin to make things interesting. Here's the twisted object again, at full length.

Now let's add a rather pronounced bend to the end of the process.

The stack now looks like this:
BEND
TWIST
EXTRUDE
POLYGON (16 sides)
This is the same as any other application. The last action we take necessarily applies to the outcome of all prior actions. But here is where MAX is unique.
With MAX, we could decide to effectively jump back in time and perform the bend before we performed the twist, with strikingly different results.

The bend command is inserted in the stack beneath the twist, rather than simply added to the top.
TWIST
BEND
EXTRUDE
POLYGON (16 sides)
Examine the last two images carefully to understand the difference. In the first one, the twisted object was bent. In the second, the bent object was twisted. To make this subtle point clear, we'll break up the steps again.
In the first example, the extruded object was first twisted;

and then that twisted object was bent.

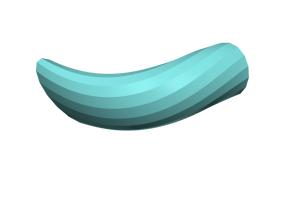
In the second example, the extruded object was first bent;

and the bent object was then twisted.

We've introduced the MAX modifier stack concept in the simplest and (hopefully clearest) possible way, and the reader can now begin to imagine the flexibility and room for experimentation that this radical and ambitious approach provides. For all its subtlety and consequent difficulties of use in projects more sophisticated than ours, it is undoubtedly MAX's strongest feature.
Next time will take a look at Lightwave's big guns.
| To Return to Parts 1 and 2, Use Arrow Buttons |
|
Created: October 7, 1997
Revised: October 7, 1997
URL: https://webreference.com/3d/lesson24/part3.html


 Find a programming school near you