3D Animation Workshop: Lesson 14: Modeling Like The Pros | 3
|
|
Lesson 14 - Modeling Like the Pros - Part 3
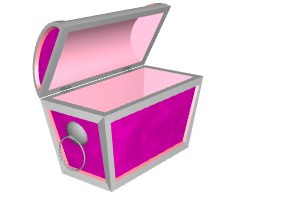
For reference, let's have another look at the finished chest.

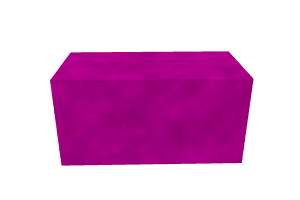
To make the box (as opposed to the lid), we can start with a primitive cube, twice as long as it is high and deep. There is some disagreement among modelers about scale. I used somewhat realistic measurements when creating the box, making it 1 meter in the x dimension, and .5 meters in both the y and z dimensions. Some modelers are less concerned about realistic measurements because objects can always be rescaled once they are made to fit the scene. An application as sophisticated as Softimage doesn't even pretend to use realistic measurements, using an abstraction called Softimage units. Sometimes, however, a realistic metric helps one to imagine modifications to a model more easily, and is especially useful where a large number of objects are to be assembled in a scene.
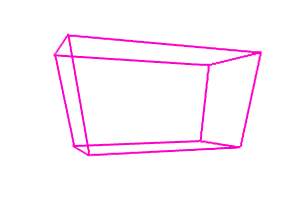
This object is absolutely square, but the perspective as viewed slightly from above can be confusing against a solid background. This demonstrates why wireframe is so important to visualize geometry, as we see next.

Our chest slants in on the sides. This modification can be achieved very simply by moving the four points that constitute the vertices of the bottom face of the cube in toward the center. This effectively scales down the bottom face to create the slanted sides.
Here is a rendered view and a matching wireframe one.

To carve out the inside of the box, we must make an exact copy of the existing shape. Then we scale it down so that it fits inside the original box. The top of the new box must be pulled up (translated in y) so that it breaks the top plane of the original one.
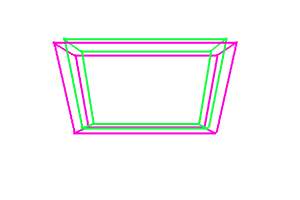
This wireframe view shows the two boxes just before the Boolean operation. The green box will be subtracted from the pink one. Like so!
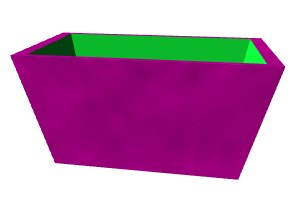
Note the order in which we proceeded. We first slanted the sides of the original box before copying it to make the Boolean subtraction object. Had we subtracted from the square box first, slanting in the sides would have been more difficult because of all the additional faces. It's just this kind of planning that distinguishes the experienced modeler and avoids frustration.
I'll bet you can now figure out how to make the basic shape of the lid. We'll get to that in the next lesson.
| To Return to Parts 1 and 2, Use Arrow Buttons |
|
Created: July 14, 1997
Revised: July 14, 1997
URL: https://webreference.com/3d/lesson14/part3.html
 Find a programming school near you