3D Animation Workshop: Lesson 116: New Subdivision Tools in MAX 4
|
|
Lesson 116 - New Subdivision Tools in MAX 4 - Part 1
Let's pursue our exploration of the new Editable Poly object in MAX 4, begun a couple of lessons back.
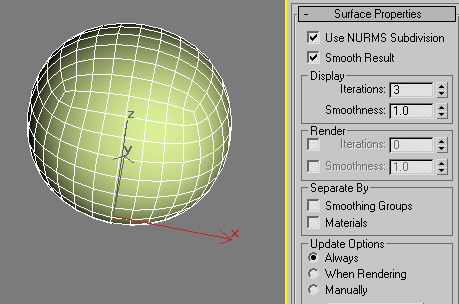
A particularly striking change over the traditional Editable Mesh (or Edit Mesh) toolset is in the direct integration of subdivision surfaces. Instead of applying a MeshSmooth modifier on top of the model, you can treat subdivision surfaces as an integral part of the modeling process. It's not quite as effortless as it should be, but you can convert a polygonal mesh into a NURMS subdivision surface directly from the top-level Editable Poly panel (though not at any sub-object level).
Here is a simple cube-shaped Editable Poly object with 3 iteration of NURMS subdivision applied.

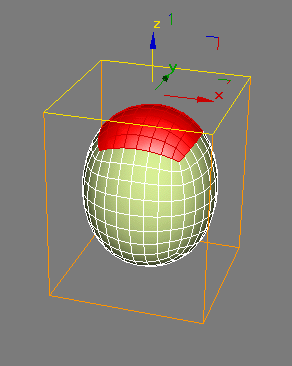
When you select and edit polygons (or vertices or edges) on the control mesh, the effect necessarily passes through to the subdivision surface, without the hassle of jumping back and forth between a modifier and the underlying mesh.

This is all as one would expect, but also MAX 4 introduces a new feature to subdivision surfaces that's quite exciting, and which deserves close examination.
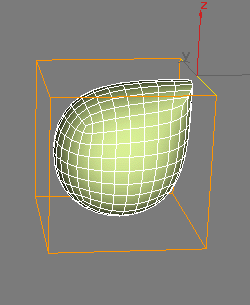
Hard, creased edges in subdivision surfaces have been around in Maya for a while, and were made first famous in Pixar's RenderMan rendering package. Now they have finally arrived in MAX. In the next image, the Crease parameter for the selected edge of the control mesh has been set to the maximum (1.0). Note the effect on the subdivision surface.

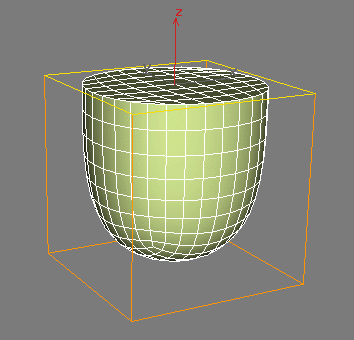
The effect is much more striking when all of the top four edges are given the maximum crease.

This is definitely not your father's subdivision surface. What's going on?
| To Continue to Parts 2 and 3, Use Arrow Buttons |
|
Comments are
welcome
and brought to you by webreference.com
Created: April 10, 2001
Revised: April 10, 2001
URL: https://webreference.com/3d/lesson116/


 Find a programming school near you