3D Animation Workshop: Lesson 116: New Subdivision Tools in MAX 4 | 2
|
|
Lesson 116 - New Subdivision Tools in MAX 4 - Part 2
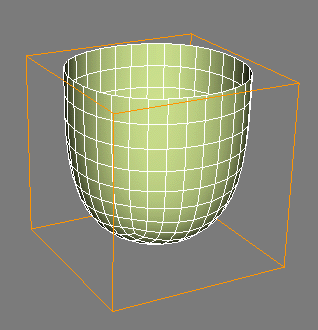
Set the Crease values back to 0.0, so that the subdivision surface is a sphere, and delete the top quadrangle of the mesh. Notice the resemblance to the subdivision surface in the previous image. We can see that the Crease parameter effectively creates a discontinuity of curvature in subdivision surface.

But this can hardly be the entire answer. Consider the following Editable Poly subdivision surface:

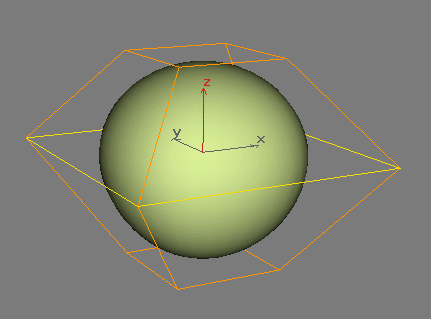
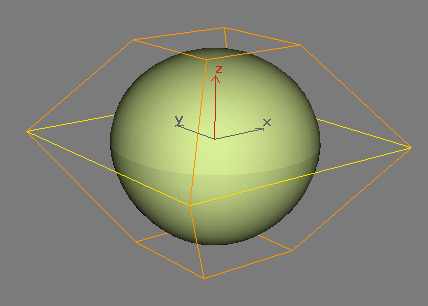
If we set the Crease value of the middle row of edges to the maximum of 1.0, we get a result that's consistent with what we have seen thus far.

But if we set the Crease value to the smallest possible value greater than zero (in this case, .001), we get a lighting discontinuity even though the shape of the subdivision surface is not visible changed.

The Editable Poly toolset carries forward MAX's unique Smoothing Group tools for organizing lighting continuities and discontinuities. These tools can be overkill for most purposes and, in any case, are not well designed for working with subdivision surfaces. The Crease parameter provides as easy way to get lighting discontinuities just where you want them without worrying about assigning polygons to Smoothing Groups. You'll generally want to use the default Smooth Result option when creating your subdivision surface in the first place. This eliminates any lighting discontinuities by effectively placing the entire subdivision surface on a single Smoothing Group. but can be overridden for selected edges with the Crease parameter.
| To Continue to Part 3, or Return to Part 1, Use Arrow Buttons |
|
Comments are
welcome
and brought to you by webreference.com
Created: April 10, 2001
Revised: April 10, 2001
URL: https://webreference.com/3d/lesson116/2.html


 Find a programming school near you