3D Animation Workshop: Lesson 103: Modeling the Character | 3
|
|
Lesson 103 - Modeling the Character - Part 3
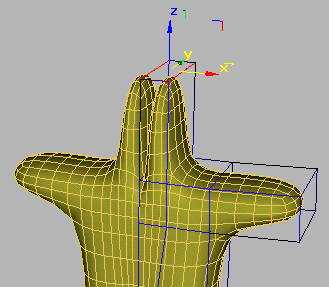
When we extrude the quad on the top to create the head, we get a two-headed monster! What's wrong?

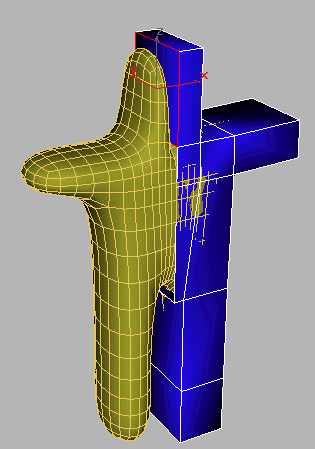
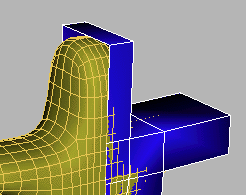
Using a control mesh makes us feel as though we are performing a kind of NURBS modeling process with control vertices. But this is only an illusion. The control mesh is actually a polygonal mesh of it own that is being smoothed to create the subdivision surface. By changing from wire to a shaded view, it's clear that the extrusion of the head created a quad right on the vertical centerline.

We need to delete this quad so that the model is hollow from the crotch to the top of the head  the centerline passing through the body. Once deleted, the head mirrors continuously with the torso.

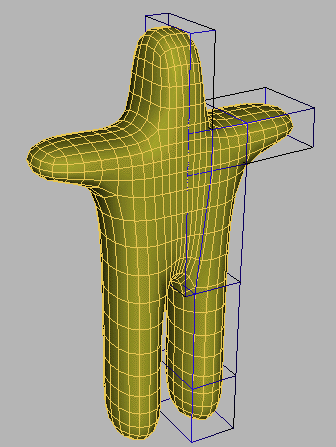
Take a look at Starfishman.

This simple structure forms the basis for modeling the human form in whatever detail you may desire. From here, it's all a matter of adding new rows and columns of edges, a few more extrusions for the extremities, and a lot of tedious moving and scaling of vertices. We'll finish up the next time.
| To Return to Parts 1 and 2, Use Arrow Buttons |
|
Created: October 10, 2000
Revised: October 10, 2000
URL: https://webreference.com/3d/lesson103/3.html


 Find a programming school near you