3D in Depth: Materials, Pt 2.
3D in Depth: Materials, Pt 2.
This month, we’ll look deeper into the process of creating textures for your 3D models. While you can find a great many “canned” textures in CD libraries, sometimes those textures don’t give you the result you’re after. If that’s the case, you’ll need to custom create a texture and maybe even several, and experiment with layering techniques in order to get the result you’re after.
One simple approach is to use texture creation software such as Corel’s KPT Collection, but other applications such as Painter or Photoshop can be used. One of my favorite things is to create space scenes. And of course, space scenes have star fields galore. One method of creating these is to visit NASA sites (see Reference section) and download royalty free star fields for your backgrounds, but sometimes there are elements there that don’t always work in your intended scene, such as a nebula. One simple method of creating star fields is to use a soft brush in Photoshop, or use the Noise Filter to create small, distant stars.
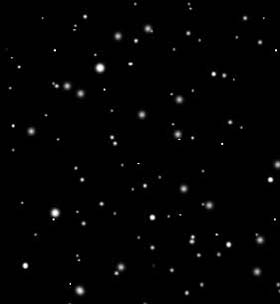
A sampling of stars using various soft and hard brushes in Photoshop.
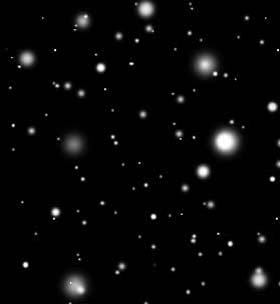
Another option is to use a low tech method. Specifically, I use a sheet of heavy black plastic or opaque black poster paper and a variety of pins in different widths. Laying the sheet on a piece of cardboard, I punch random holes in the paper; then scan the result at several resolutions, bring the image into Photoshop and clean up any ragged holes. You can then add stars of varying sizes to create the illusion of depth.
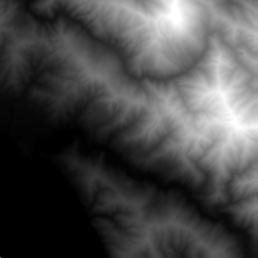
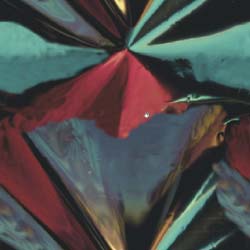
When it comes to creating a background, such as a nebula, that's more time intensive. But a simple way to begin is to use some of the terrain maps available in Bryce. To create the nebula, I used colored spotlights in combination with the textures and projected them onto the ground plane.
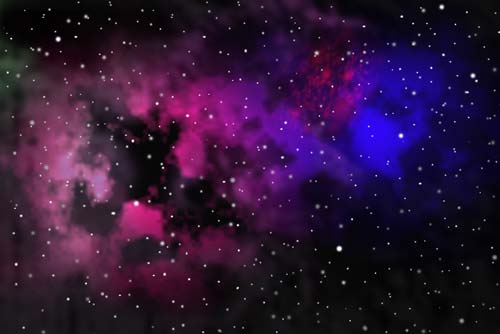
Once I had the nebula effect I wanted, I brought it into Photoshop and layered it with stars.
Other noteworthy software applications for creating textures are Corel's Painter and Photo-Paint 12.

Version 12 of Photo-Paint offers some interesting texture creation tools. As a test, I created a gray background, then used the Bitmap option, which produced the image on the left. Next, I used the Crafts filter, which created this tiling effect.
One of the many useful tools is Bitmap Fill, which offers a variety of textures. Many of these appear to be fractals, but some, like the one you see here appears to come from an abstract painting. In addition, you can load your own and experiment with the various Filter options.
In Corel Painter, you have a wide variety of paper textures available. A few of these are woven paper, simulated woodgrain, coarse cotton canvas, etc. In addition, gradients, patterns, and weaves can all be applied to your image. Using a drawing tablet, you can brush some of these on, create layers and get them to interact with each other, etc. All papers, patterns, and weaves use libraries which contain sample materials, though many more are available on the Corel Painter CD and on the Corel web site.
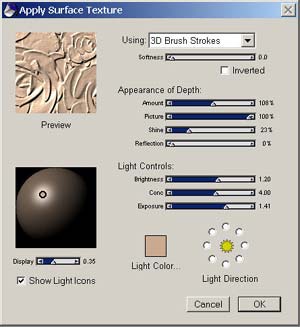
One simple way of creating textures is to use the Apply Surface Texture dialog box, located under Effects: Surface Control. You have control over the Softness, Shine, Brightness, Reflection, Lighting Direction, etc. Once you've set your paper, you can use it an underpainting, creating additional layers and textures on top of it.
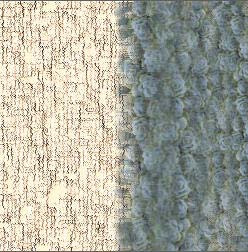
This image is an example of a paper texture on one layer (left) and another texture resembling a gray stone effect on a second layer, which could be enhanced, muted, or blended with the layer below.
In addition, you can paint in directional patterns. This image used a sandstone pattern for the background and you can clearly see the brush stroke of another texture curving over the texture.
How to Make a Tileable Texture in Photoshop
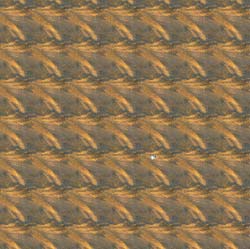
One of the more common textures you might want to create is a brick texture.
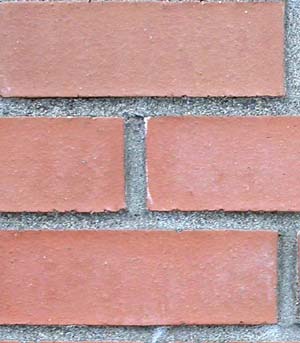
In this case, I took a shot of brick wall that I cropped and adjusted for better color saturation, then applied it to a 3D object.
The result is pretty good, but there is some evidence of a tiling pattern, even though the texture appears to be ready for use.
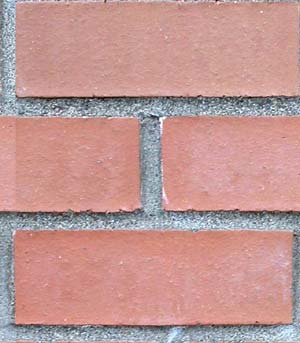
To fix this, I created a guideline as a reference point using Rulers, then used offset the image (Filter: Other: Offset) to place the seam in the middle. Next, I used the Clone Stamp tool to fix areas of the image that needed it, such as the extra mortar lines and the seam in the middle. The goal was to create a relatively even appearance.
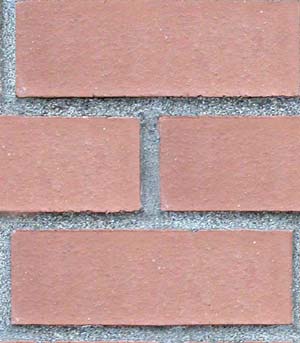
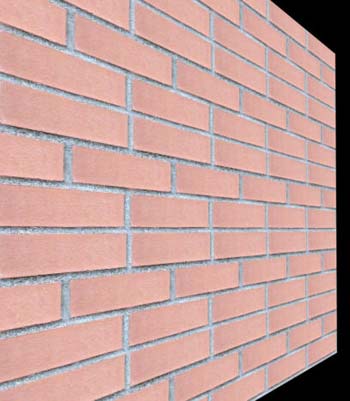
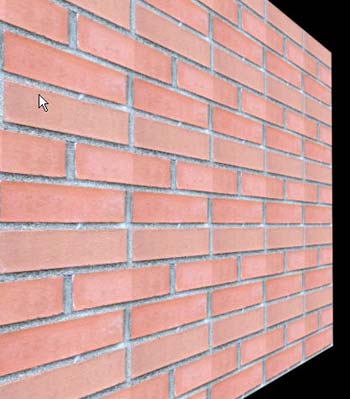
The retouched brick texture and its appearance as a tiled texture. The result
shows a repeating texture that is nearly perfect.
Created: June 5, 2003
Revised: March 3, 2004
URL: https://webreference.com/3d/column10/1
 Find a programming school near you