In this article, we will focus on the administration side of a banking application. Why would we need to administer a banking application? Well because a banking system handles a lot of client details and as you can imagine, any application works faster if there are fewer details to retrieve; the more clients a banking application handles the slower it will become. In addition, when customers leave your bank, you need some way to remove their details from your system to avoid redundant data clogging up your application. So administering this kind of an application is basically house keeping. It also has the advantage of speeding up your application and keeping it up to date.
The Admin script
This script is where you go when you want to administer customer data. The page itself does not contain much, apart from a welcome message and links that take you to different pages of the admin area. Below is a screenshot of the page followed by its code:
The Code explained
Then instantiates the customer class:
The HTML header information is created:
Notice that the navigation panel is created next, but that it has different links from the ones that we saw before. It has the following links:
- Home  Takes the user back to the application home page.
- Logout  Logs the user out of the application, programmatically, it ends the user session.
- View Customer Details  This links take the user to a page that shows the account information of the selected customer. Information such as the customers address and other personal details are shown on the page that the link refers to.
Finally, the main part of the page shows the welcome message, which is a method that is defined in the customer class. Just before the message is shown, the current date is shown in an HTML table. The code that actually shows the welcome message is the $obj->welcome() line of code:
Finally the HTML is closed:
The list customers
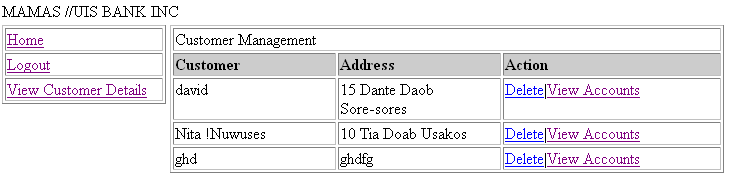
The 'list customers' page is responsible for displaying information about customers. Information, such as the name and other personal details of the customer, is displayed here. In addition, the user is given the choice of deleting a customer from the database and with that from the application or viewing the account information of the customer. When the user chooses to delete the account information of a customer, the code runs the appropriate method that does the job and then returns the user to the update list customers page. Below is a screenshot of the page followed by the code:
The code explained
The most useful part of this script is the body section that displays the customer information. It starts by opening up a session and then including the classes that are required by the page:
Then we instantiate the class needed to access the class methods and attributes. Instantiating a class basically means Âmaking a copy' of the class' methods and attributes and storing them in an object that is then used to access those methods. To access a method we use the -> operator. In our case, we declared $obj as an object of the customer class. This object will now be used throughout this script to access the customer class:
We will be using the newly created object ($obj) shortly to access a method. The code then continues to build the HTML header and other information that makes up the beginning of an HTML page:
Then we build a table that will host the navigation panel. The links contained in the panel will take the user to different parts of the administration section. All of the pages that are used by the admin area are the same:
The method below shows a table that hosts the information about all of the customers that are stored in the database. We will discuss this function shortly:
Finally, the HTML and template code is closed:
The remaining scripts are those that reside in the admin area application. To start with, we will look at the improved accountsadmin() method.
The methods
When the user clicks on the link that takes them to the customer information page, the accountsadmin() method displays the customer information that the page was designed for. Previously the method only showed one row of the information that was required and left the rest of the table to be completed by the HTML page. This of course is not good coding practice since the code for the presentation layer is mixed in with the PHP code. The method was improved in the following way to handle this problem. Instead of just showing one row of information on a table that was built by an HTML page, the method builds the entire HTML table. Below is the code:
There has been significant change in the code of the function that was explained before. So let's take a look at how the change was effected. First, the function starts by checking to see if a connection to the database exists:
Then we run the query to get all of the data about every single customer in the database, and store the results in the $res variable. If the query was successful the $res variable will contain something, otherwise the query failed:
Now we start to build the table that will host the results of the query:
First, we set the table headers:
Then we run a while loop that stores the results in a variable called $row:
Now we run the loop, and with each iteration a new row is dynamically created. Each row contains the following information:
Name of the client
Address of the client
Finally, options to delete the client from the database or to view account details of the client.
The while loop is closed and the table is closed:
Finally, we terminate the method definition:
 Find a programming school near you
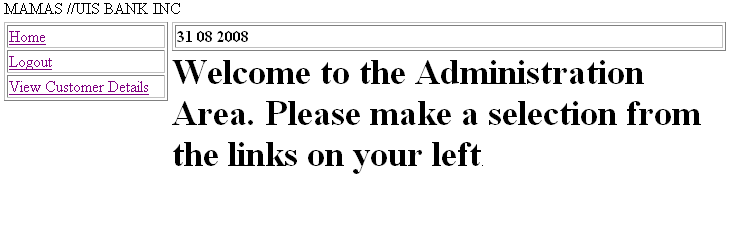