 Digg This
In this series we've built a fully functional Autocomplete control within Eclipse using the Web Tools Project, JavaServer Pages, a Tomcat server, JavaScript, AJAX, JSON and some CSS. For the remaining installments, we'll be updating the Autocomplete control's layout to CSS, decoupling it from the Autocomplete.jsp page, tweaking the appearance of the list, and implementing additional functionality, including:
- a scrollbar
- search string matching in the list items
- a CSS dropshadow effect
- functionality to capture arrow and control keys
The New-and-Improved Autocomplete Control
This week, we convert the Autocomplete search control's layout from a table-based one to CSS and move it from the Autocomplete.jsp page into its own JSP file. While the table provided an easy means of laying out the control and offered the advantage of giving us a placeholder for the list, we're now going to trim some of the extra code out of our control so we can define its appearance from a CSS file. We're also going to cover a new way to create and position the list using JavaScript code.
Looking at the original table layout below, you can see how the presentation elements are mixed in with the HTML code. There are numerous formatting tags and attributes such as <B>, border="0, "cellpadding="5, "cellspacing="0, "align="left, " and even size="20" in the textbox all relate to the rendering of the elements in the browser. These will be relocated to the CSS file:
The AutocompleteCSS Project
Rather than rework our existing files, we'll start fresh and create a new project. Copying a whole project is a breeze in Eclipse. Simply select the Autocomplete project and click Ctrl+C to copy it and Ctrl+V to paste it. Eclipse even gives you a dialog to change the name from the default of "Copy of <project name>." We'll call this one "AutocompleteCSS." Hit the "OK" button to create the project (See Figure 1).
The AutocompleteControl JSP Page
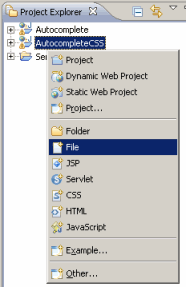
To create the new Autocomplete control, use the Shiftt-Alt-N shortcut to open the "New" popup menu and select the "JSP" item (See Figure 2).
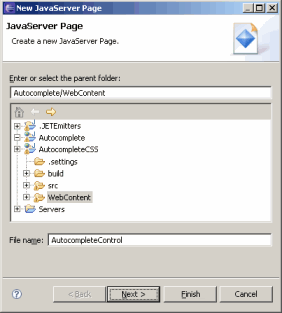
Enter "AutocompleteControl" in the "File Name" textbox and click the Next > button (See Figure 3).
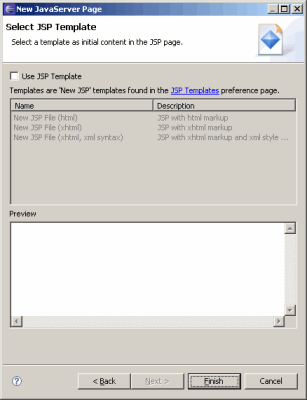
Uncheck the "Use JSP Template" checkbox so a blank page will be loaded into the editor window (See Figure 4).
We can remove all table properties by using <DIV> tags for the various components, instead of table cells. Add the following code in the editor:
To make our control more autonomous, we should also move the external file references here. Include the following code at the top of the file, above the <form> tag:
The AutocompleteControl CSS File
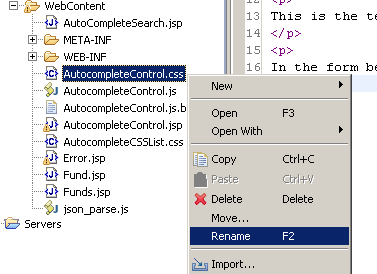
We should rename the AutocompleteList.css file to AutocompleteControl.css to reflect that it will now contain rules for the entire control, not just the Autocomplete list. To rename the file, right-click on the AutocompleteList.css file in the "Project Explorer" pane to bring up the popup menu and select the "Rename" item. The file will then turn into a textbox for editing. Alternatively, you can press the F2 function key (See Figure 5)
What follows is an explanation of the new CSS rules:
The AutocompleteControl Selector
The most direct way to alter the appearance of the Autocomplete Control is by using ID selectors. We can switch to more generic selectors later should we wish to add more controls on the same page.
As we learned in Part 5: The AutocompleteList.css File, elements are
positioned with static positioning by default, meaning that these are positioned
within the normal flow of the page. While assigning a position of relative
doesn't reposition the AutocompleteControl without the left and top
properties defined, it does have the important effect of setting the AutocompleteControl
<div> as the container for its child elements. Without it, they would
be positioned with respect to the page's left and top properties.
The height and width properties replace the <table> height
and width attributes. We didn't define these attributes originally because
tables will expand by default to accommodate their contents. <div> elements
might or might not, depending on how its child nodes are positioned. There's also
an extra row in the original table that acted as a placeholder for the auto-row,
where the list would appear. We won't be needing it in the CSS design:
The Autocomplete Class Selector
The Autocomplete class selector applies to all the elements contained within
the Autocomplete control. All three elements, the label, the textbox and the
submit button, are absolutely positioned with respect to the containing
AutocompleteControl <div>. They're all aligned to the top of the
container and have a height of 24 pixels. The line-height: 24px; rule has the
effect of centering the elements vertically. The padding replaces the
table's cellpadding attribute:
The AutocompleteTextFieldLabel ID Selector
This selector applies to the label <div> tag. With the top set
at "0" pixels, we need only set the left and width properties
for each element. The white-space property acts exactly the same as the
table's NOWRAP attribute. The font-weight: bold; rule replaces the <B></B>
tags:
The AutocompleteTextField ID Selector:
The AutocompleteTextField ID selector applies to the AutocompleteTextField
<div>. All we need to set are its left and width
properties:
The complete-field ID Selector:
The complete-field ID selector applies to the textbox. The width rule
replaces the text input's size attribute:
The AutocompleteSubmit ID Selector:
The AutocompleteSubmit ID selector applies to the AutocompleteSubmit <div>. Again, we only need to set the left and width properties:
 Find a programming school near you