This article demonstrates the use of the Visual WebGui Control & Theme Designers and so requires the use of an installed version of VWG v6.4 or later versions.
Introduction
In this article we are going to create a Visual WebGui application and completely customize the look and feel of it using the Visual WebGui Control & Theme Designers.
It is important to understand that the look and feel that we
will create will be completely usable (and customizable) for other VWG
applications. This means that even though we will create this UI customization
with the relevant application in mind, it would not necessarily be
application-specific.Who should read this article:
This article is meant for .NET programmers who need to create web applications
with a fully customized front UI.
Creating the application
First, what we need to do is open MS Visual Studio and create a new Visual WebGui Application project.
Let's call it "SampleApplication". To create the basic logic buildup of the application, we need to create VWG Forms and UserControls.To do that, we right click on the Project item in the Solution Explorer and select the Add Â> Form or Add Â> Control option.
Now we are ready to start adding the necessary controls to our new Form.
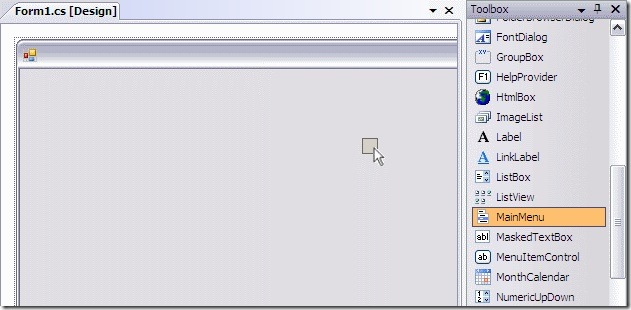
Open Form1 in design view and drag in a Visual WebGUI "MainMenu" control from
the ToolBox.
We can now add a few MenuItem components to the menu.
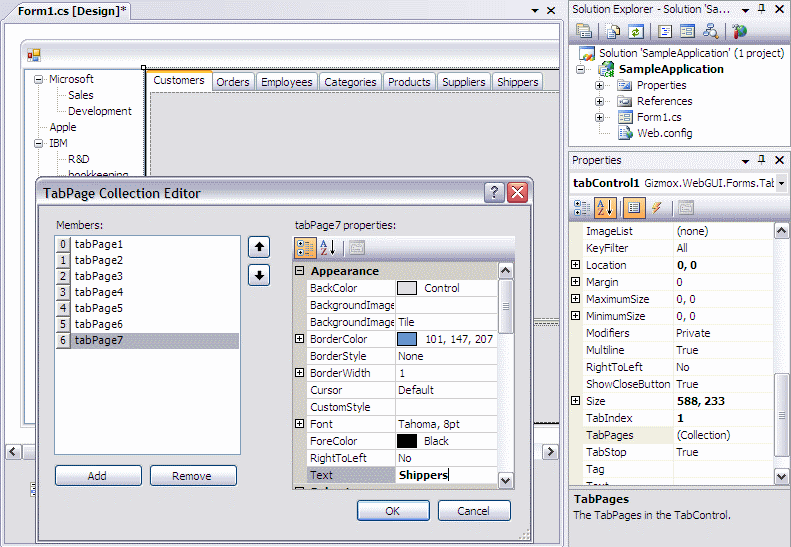
Now we will also add a TreeView docked to the left, and a Panel docked to fill the available space.We can add to the Panel a SplitContainer docked to the bottom and a TabControl docked to fill the available space (above the SplitterPanel). Now we will add a few TreeNodes to the TreeView and add a few TabPages to the TabControl.
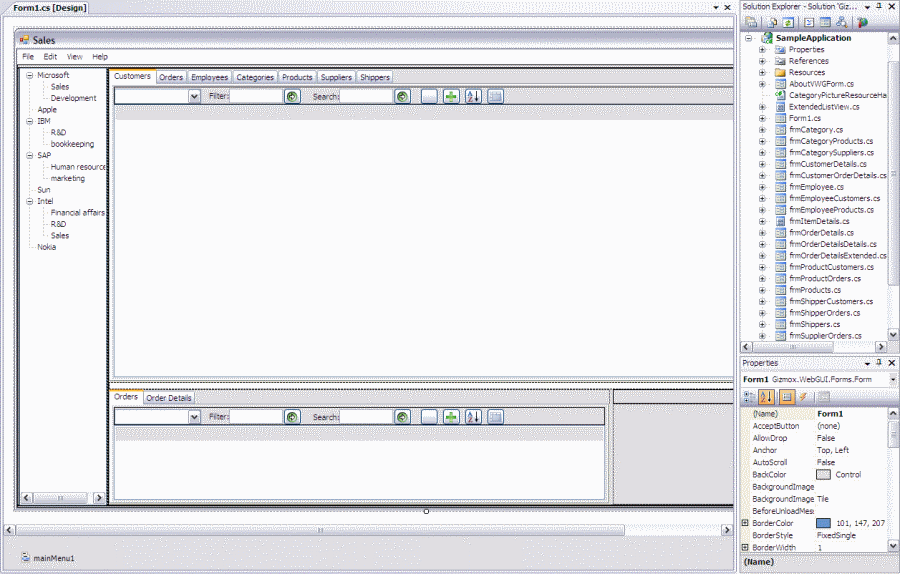
Now we will continue adding the relevant data display controls  ListViews in the various TabPages.We can also fill the SplitContainer below, like so: fill the left SplitterPanel, with a TabControl and the right SplitterPanel, with a Panel docked to the top and a PictureBox docked to fill.Now we can bind the various data controls to data from a database using a DataSet, for example, and introduce the necessary business logic operations to the application, to make it actually useful.Finally, our application looks something like this in designer:
Now, running the application, this is what we see:
Designing the look & feel
Now, we want to customize this application's design a little. To do that, we need to create a new Theme project. Let's create a theme that resembles the fresh and clean Google Analytics look and feel. For this reason, we should call this theme "Analytics".
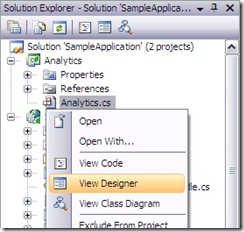
We will create a new "Visual WebGui Theme" project and call it "Analytics". Now we'll build this library project and add a reference to this theme project, to our "SampleApplication" application project.We can display the Theme Designer for this new theme by opening it in design view, by right clicking on the Analytics.cs item in the Solution Explorer tree and selecting "View Designer"
.Now we can see the VWG Theme Designer.
The current state as we see it would be the exact representation of the "Default" theme. Any resource that we will change in our theme specifically will be overridden, and so it will not have the shortcut sign that the default resources have.
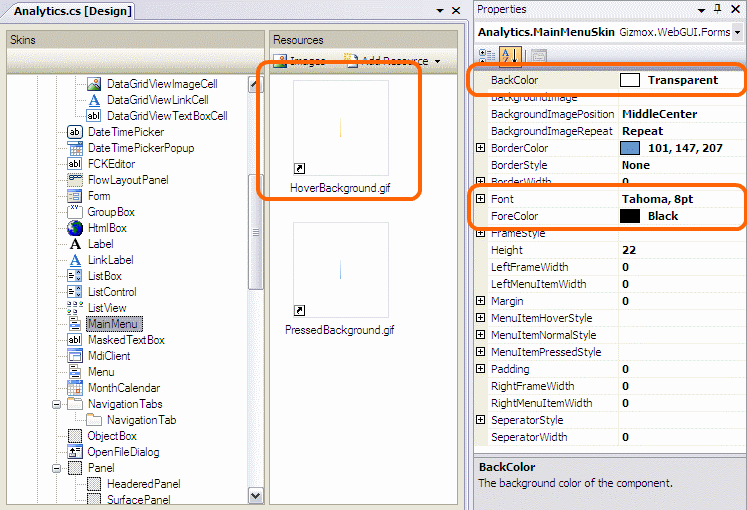
We can, for example, begin customizing the MainMenu control, so we need to select it in the TreeView on the left. Once selected, the resources of this control will be displayed, and if you display the properties window on the right, you will see the control's skin properties there.
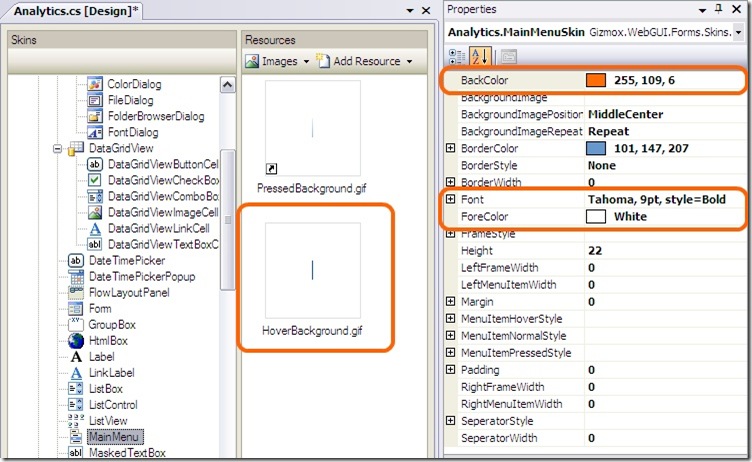
Let's change the BackColor property to: "255, 109, 6", the Font to: "Tahoma, 9pt, style=Bold" and the ForeColor to: "White".
Let's double click the HoverBackground.gif image to open it in the default image editor application and change the color to: "9, 77, 176".
Will now change to:
Save the image to the side and drag the image into the image resource list of the MainMenu in Visual Studio. The file will now be overridden.
Now we need to save the theme and build the Theme project.
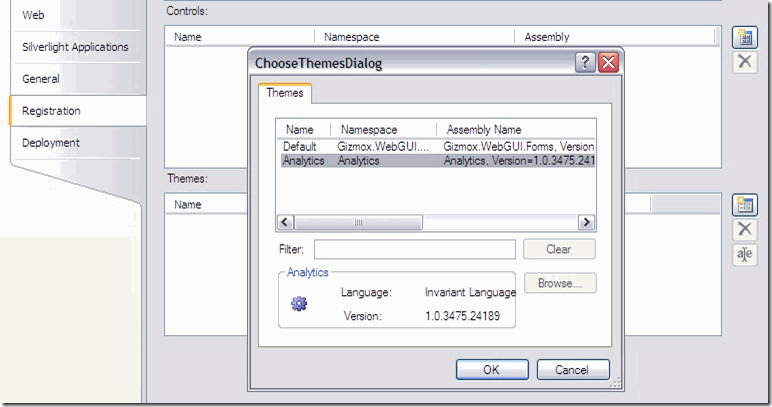
Let's open the project properties, load the "Registration" tab and click on the "Choose Themes" button.
Select the Analytics theme and press on OK in the dialog.
Now that the theme is in the Themes list, check the CheckBox on that item, to set it as the default theme for the application.
Build the solution and run to see the changed MainMenu.
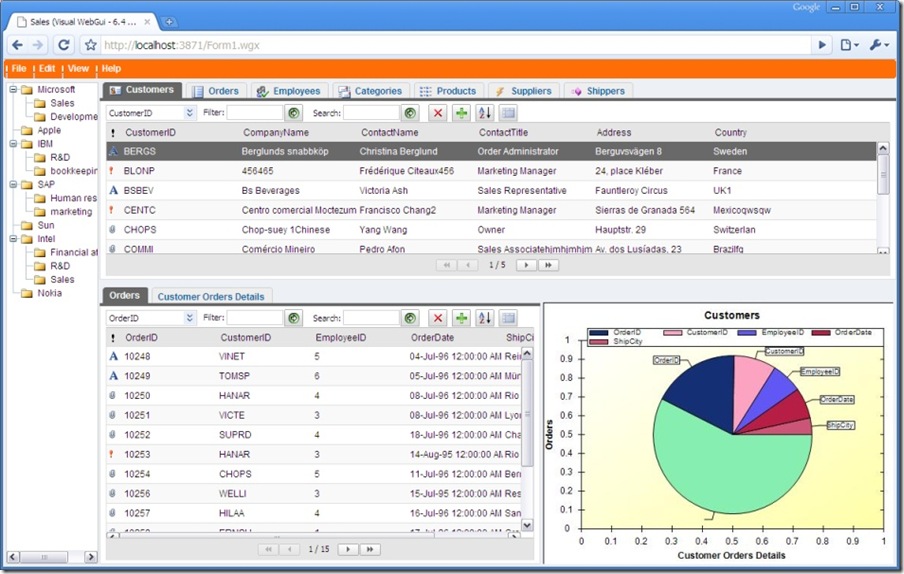
Now we'll continue customizing the MainMenu control's skin and also customize all the other relevant controls' skins using the Theme Designer, to produce a complete UI transformation, to give the application the complete look and feel of Google Analytics. After these changes, let's run the application and see what it looks like. Notice the changes in the TabControls, the ListViews, the ComboBoxes, the Buttons, etc.
Just to remind you, this is how our application looks without this modification (with the default theme):
Summary
- We created a Visual WebGui Application Project and Forms.
- We added controls to the main Form using the VWG Form designer and positioned them according to the required layout.
- We bound the controls to data from a database and added the relevant business logic.
- To customize the UI, we created a new VWG Theme called "Analytics".
- We customized the skin of the MainMenu control, by changing the HoverBackground image and some style properties in the VWG Theme Designer.
- We continued to work with the Theme Designer to customize all the required controls, so they would have the look and feel of Google Analytics.
Ori Cohen has been a software developer for over ten years, with experience in SQL Server, Oracle and MySQL He began his work on the web with Java, and later switched to MS .NET. For the last seven years Ori has been working in web applications development, and In February 2008 he joined Gizmox as a web developer for Visual WebGui. He is now in charge of supporting the large developer base of the Visual WebGui framework.
 Find a programming school near you