My previous article explained what a Web service is and how exactly it works. It also explored the different components that make a Web service work. In this article, I demonstrate how to create a Web service using ASP.NET. We will start off with a simple Web service and then look at how to integrate the Web service with a database on the backend.
The Service
The demo Web service eventually will be used to look up names in a database, but before we get there, let's create a simple service to get some insight into the basic setup of a Web service. To create the service, you need Visual Studio (I use 2008) and an up and running Web server such as IIS (Internet Information Services).
Start Visual Studio and create a new project. On the project types pane, select "Web" and then on "templates" select " ASP.NET Web Service Application." Where it says "location," enter "c:\inetpub\wwwroot\MyTestService" and leave the rest as is. Click "OK" (use Figure 1 as a guide).
When you click "OK" Visual Studio will automatically create a MyTestService folder in the location that you specified. It will also add a bunch of files -- including the all important .asmx file, which in our case should be called Service1.asmx. Your code page in Visual Studio should now look something like this:
Replace this line:
...with this:
Notice the term webmethod() in the code. This declaration is where you will create your Web service methods. Visual Studio already created one for you called HelloWorld(), which basically just displays "Hello World" when you eventually run the service. We are not going to use this Web method. Instead, we'll create our own. Remove the "HelloWorld" function and add the following:
Your page should now look like this:
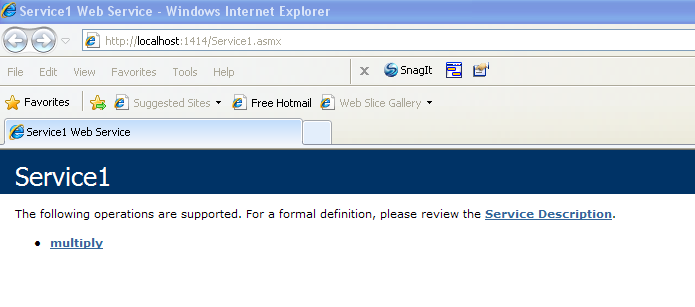
Our Web service is now set up with a method that multiplies whatever values are fed to it. Let's run it and see what happens. When I run my service the image in Figure 2 appears in my Web browser.
Figure 2: List of Available Methods in Web Service
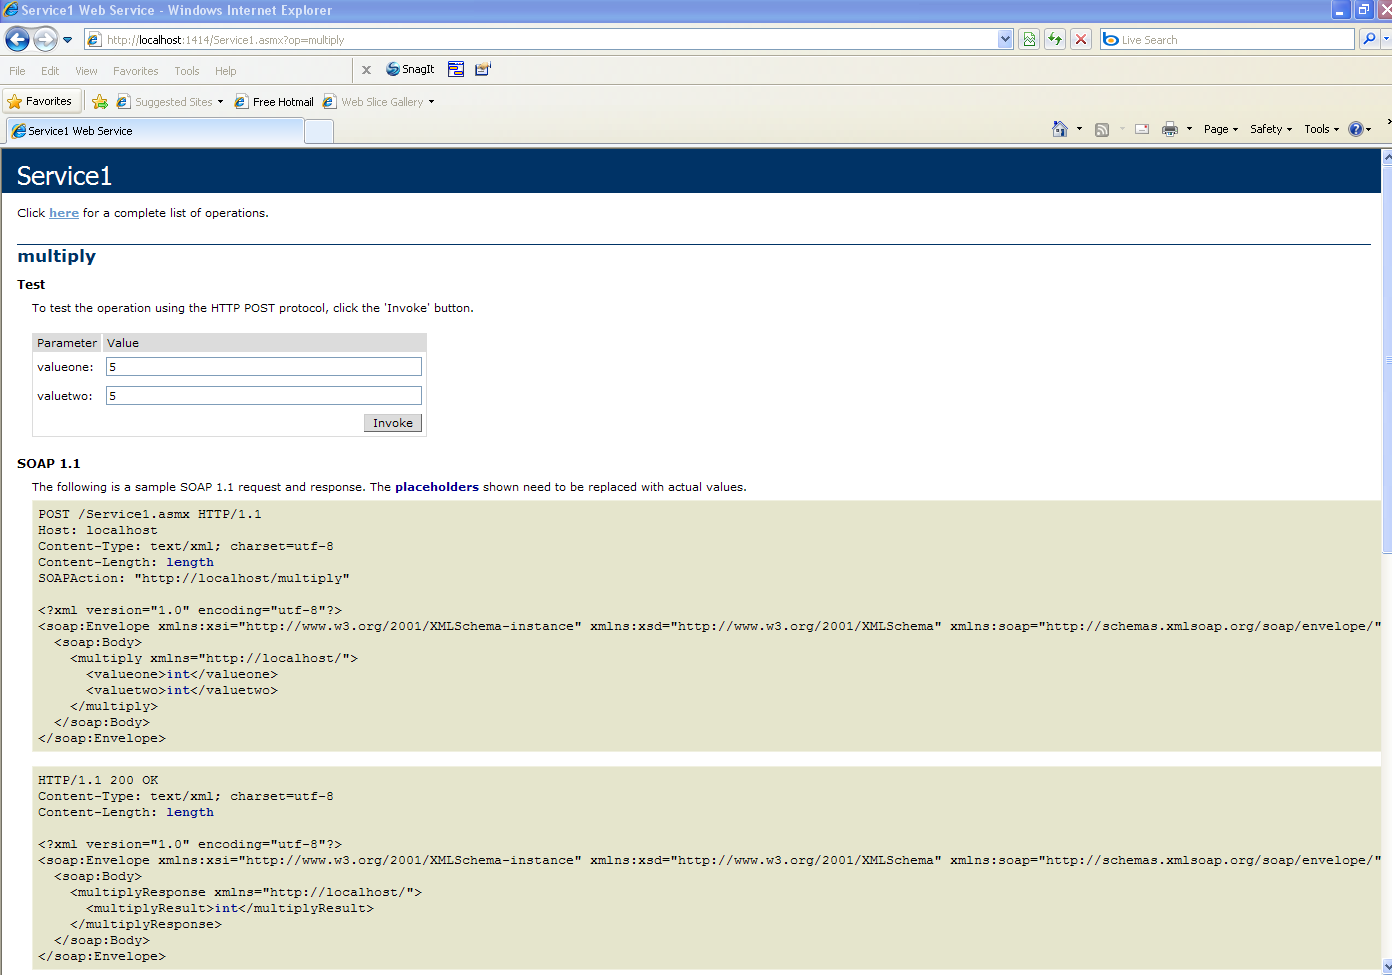
The image in Figure 2 shows a list of methods available in this Web service, but we have only one called "multiply." When you click on that method, you should see an image like Figure 3:
Figure 3: Fully Exposed 'Multiply' Method
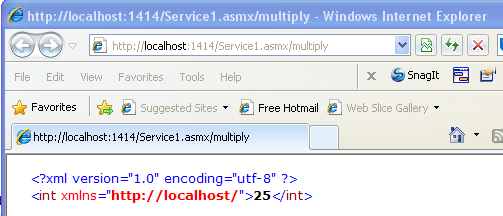
The method is fully exposed when you clicked on its name. Now you can enter any values in the two textboxes and click on "Invoke," which will run the method and show you the result. I entered "5" for both values and got the response in Figure 4.
Figure 4: Result of Entering '5' and Invoking
So now that youÂve tested your service and found that it works, how are you going to make it available to others on the internet? Notice that when you ran your service, Visual Studio creates a Dynamic Link Library (DLL) file in your project folder. More specifically, it creates a folder called bin in which it places that file. Now, under normal circumstances you would have used regsver32.exe to register your DLL, which would have ensured that your service was running and accessible to everyone on your system. But with Visual Studio you do not have to do any of that. Your service methods are already exposed and made available.
Now we just need to create client applications to access our service over the Web.
 Find a programming school near you
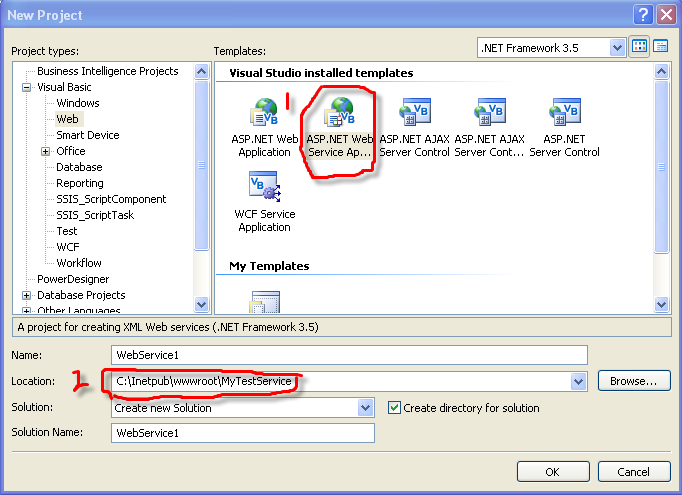