The Art of Logo. Part I: Your Media. Bonus: The "Venetian blind" tip
| Bonus: The "Venetian blind" tip | ||
 | ||
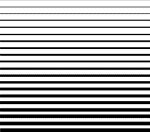
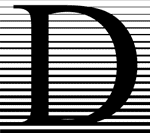
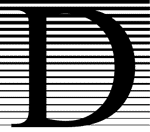
| To produce an effect similar to that shown on the figure, follow the steps outlined below. These instructions are formulated in the most generic terms; they were tested with Corel Xara but should work with any vector drawing package. | ||
| 1 | Draw a horizontal line that will serve as a base for the lattice. You can also use a curve which will later give you a "waving flag" appearance for your graphic. Use minimum line width (e.g. 0.25 pt). | |
 |
2 | Duplicate the line and place the copy right below the original, at the distance equal to the line's length. Make the copy thick enough (e.g. 8 pt). |
 |
3 | Use the Blend function in your drawing program to create a blend between the two lines. Adjust number of steps in the blend to achieve the desired lattice density. |
 |
4 | Place a letter or any other figure you need to "engrave" over the lattice. |
 |
5 | Make a copy of the whole thing (both the lattice and the figure). In the second copy of the lattice, remove the blend, then "swap widths" of the lines (make the thick one thin and vice versa) and re-apply the blend. |
 |
6 | In the first copy, with both the lattice and the figure selected, apply Subtract Shapes function to make a "hole" of the desired form. (Or, you can just paint the figure with background color and remove the outline.) |
 |
7 | In the second copy, use Intersect Shapes function. This will give you a "ghost" of the figure. |
 |
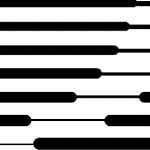
8 | Manually place the "ghost" into the "hole". Optionally, select the whole graphic and choose round caps for the lines. |
Created: Jan. 19, 1997
Revised: Jan. 23, 1997
URL: https://www.webreference.com/dlab/9701/bonus.html


 Find a programming school near you