WordPress has gained immensely in popularity in the past few years. With the release of WordPress 3.0, the CMS has achieved a level of maturity that makes it a great option for a lot of websites outside of just blogs. One of the features that makes WordPress a good option for custom websites is the Custom Fields feature. Custom Fields are a feature that allow you to create variables that you can call in your posts and pages. The feature adds a level of flexibility that allows you to store and call custom image URLs, headers, and background wallpapers in your posts. The idea of custom fields can be a bit challenging to understand -- especially to non programmers -- but once you get a hang of it, it can help you scale your website with greater ease.
By default, WordPress allows you to add static text and code into your posts and pages, and this content appears in the body if your page. However, using custom fields you can declare a value to these variables and set things up so that they appear anywhere in the page. This, however, requires a bit of PHP programming. Let's look at a simple example to help you get a grip on things. Create a fresh WordPress installation, so that you don't affect a functional website. For this exercise I'll be using a WordPress 3.0 installation with the default Twenty Ten theme. Most of the examples in this tutorial should work on other releases of WordPress.
Using the Custom Fields Feature in WordPress
Log into WordPress and head to the New Post page by going to Post -> Add New. Scroll down on the page until you see the Custom Fields box. You will see two fields here: the Name and Value. The Name is the name of the variable you are about to create, while the Value is the value associated with the variable. In this example we will be building a website for a restaurant. In the Name box enter the word Desert_Type, and in the Value enter Chocolate Pudding. Once you are done, click the Add button and you will have added the custom field to the post. Publish the post.
Now log into the server where the copy of WordPress is installed and open the file single.php in a text editor. This file will be located in your theme's directory. For example, if you are using the Twenty Ten theme you will find it under wordpress-install/wp-content/themes/twentyten/single.php. Add the following line in a new section anywhere in this file and save it.
 Find a programming school near you
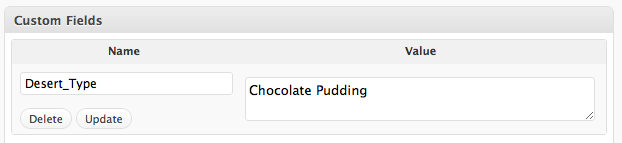